
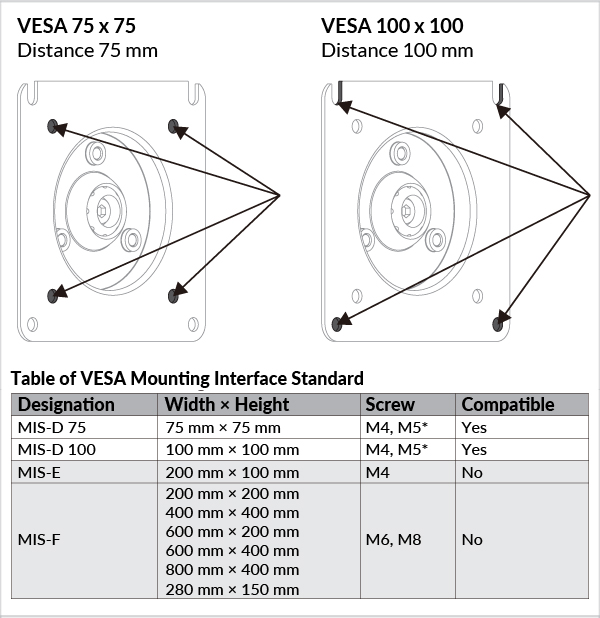
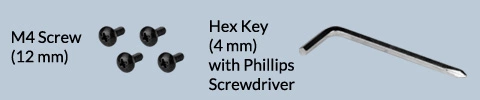
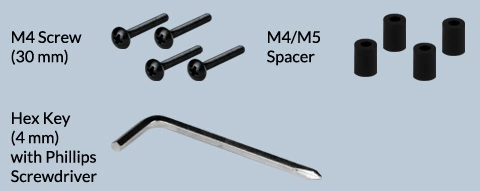
If M5 Screws are needed, please contact our customer support to obtain them free of charge.
Recommendation based on table top thickness greater than 20mm. Thinner table tops may need to be reinforced prior to installation.

For desks using a honeycomb-structure or sandwich-structure with hollow pockets, we recommend adding a stiffening board to prevent clamp damage on the tabletop.


Warning
Please follow the instructions illustrated below to safely remove the cardboard cover and slowly stretch the gas spring monitor arm to gently release the pressure, and allow it to gradually reach its full extension
It is recommended to carry out this step with 2 people.
If M5 Screws are needed, please contact our customer support to obtain them free of charge.
Spacers are used to fill the gap between the mounting bracket and the holes (if any).


Warning
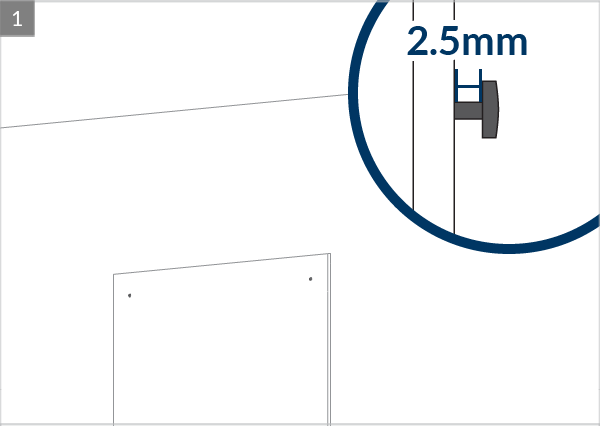
Do not use 30mm screws without spacers

Warning
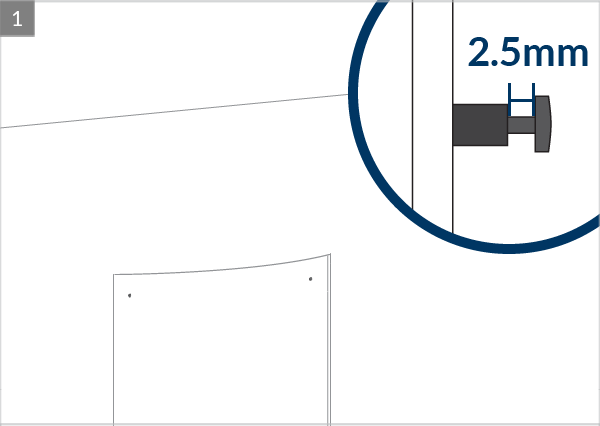
Do not use 30mm screws without spacers
Adjust the strength for gas spring

Tighten the lockable screw to fix the arm's position for the desired swivel

Adjust the tightness of the monitor for desired tilt and rotation
 Attention
While doing the following adjustment, please ensure the monitor is well supported in position to avoid any damage.
For heavy monitors (above 8kg), the tilt/rotation adjustment has to be tightened to ensure stability. As a result, the adjustment cannot be done freely.
For any tilt/rotation adjustment, it is necessary to slightly loosen the 3 screws at the back, adjust the monitor to the desired position and then secure its position by fastening the screws again.

Place the cables into the slots of the cable management clip. Align the clip with the monitor arm and push it into the arm. A 'Clack' sound can be heard upon successful installation

Remove the plastic panel and place the cables into the body of the lower extension arm. Slide the plastic panel back on. A 'Clack' sound can be heard upon successful installation