
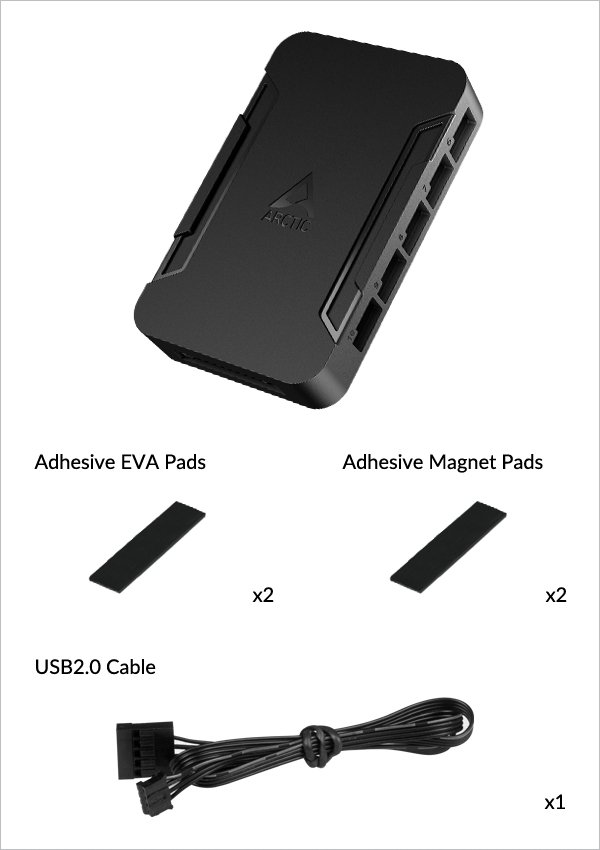
Select your preferred mounting Pad
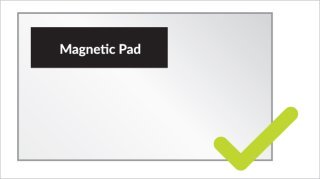
For steel surface
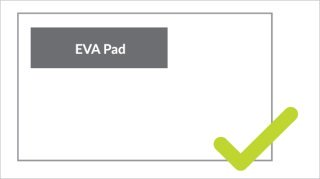
For non-steel surface
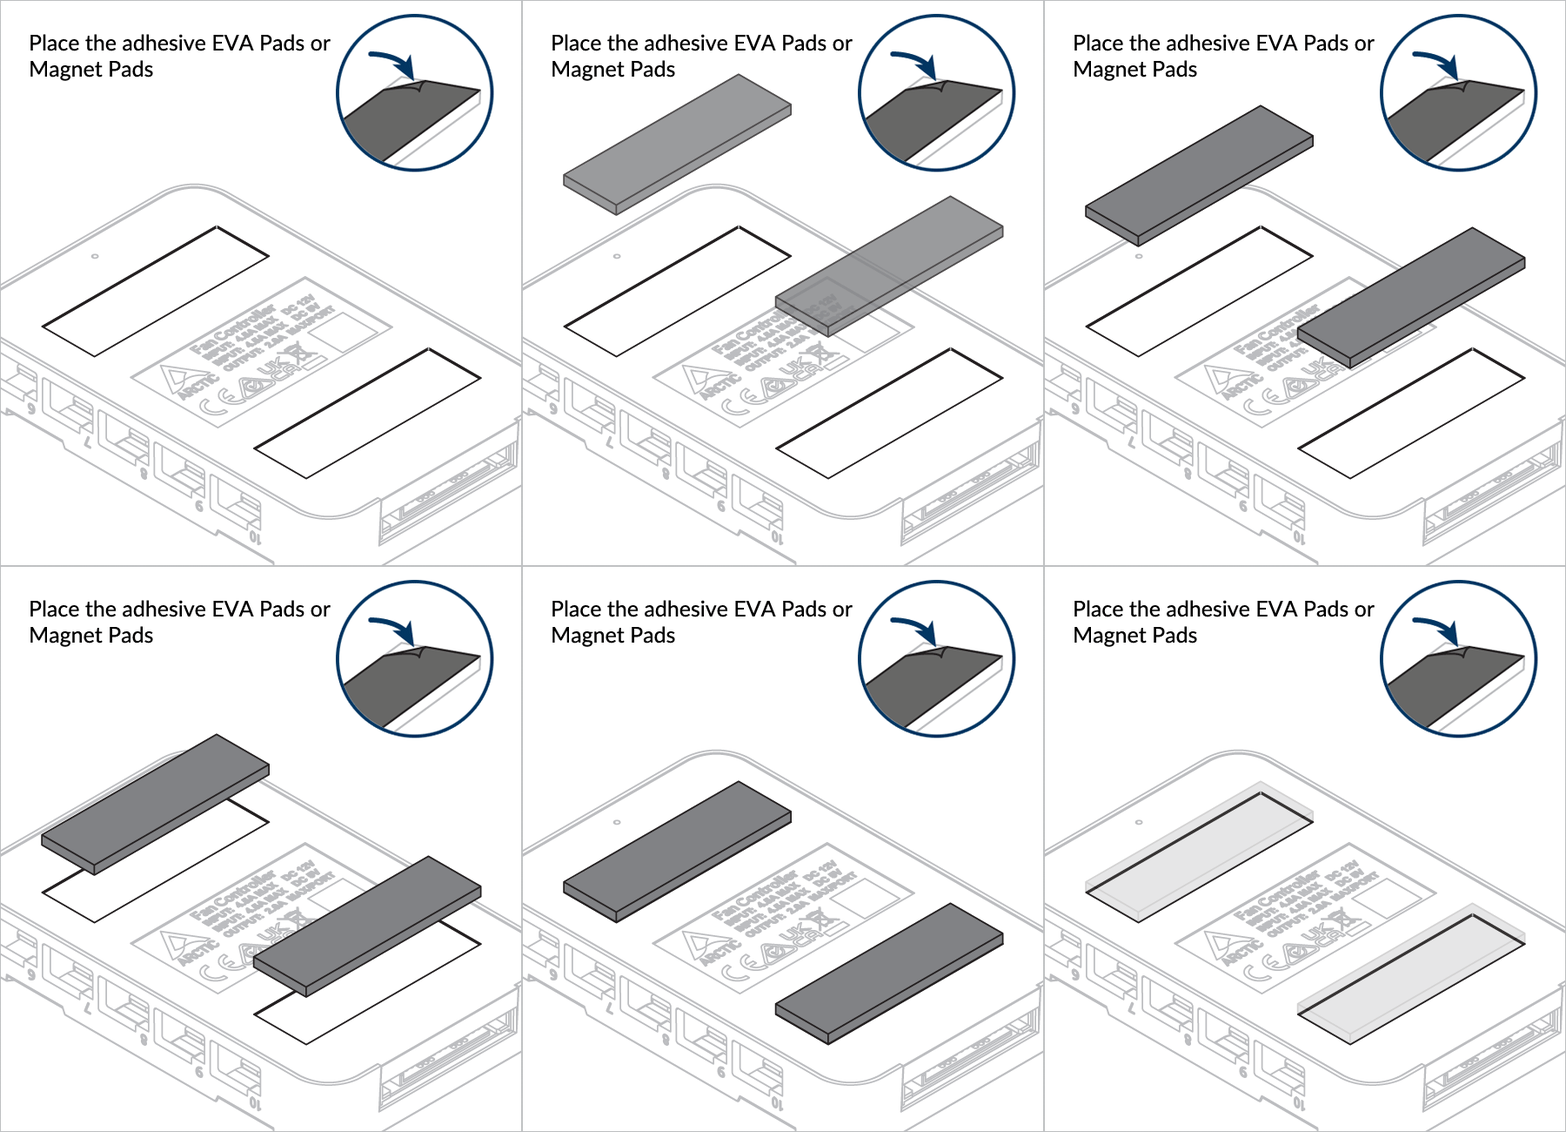

 Attention
Turn off your computer prior to installing the Fan Controller, as hot swapping is not supported on this device. Connecting the fans while the device is powered on might cause permanent damage to the controller pins.
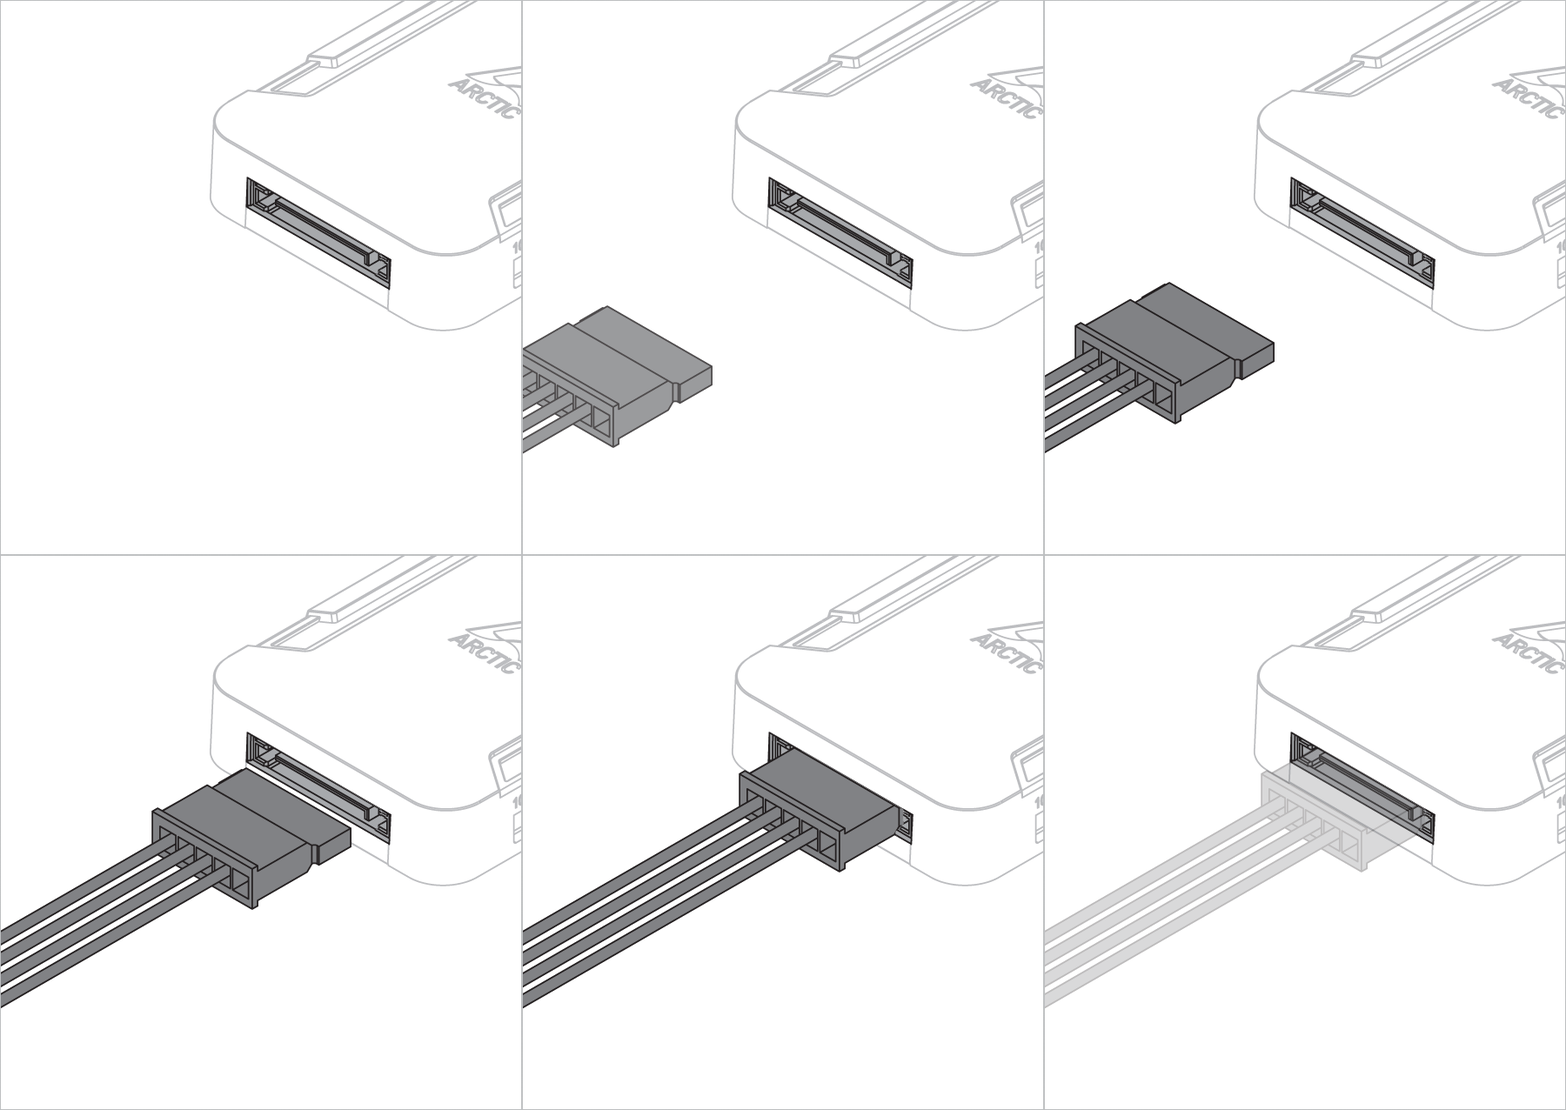
Connect a SATA power cable from your power supply to the Fan Controller
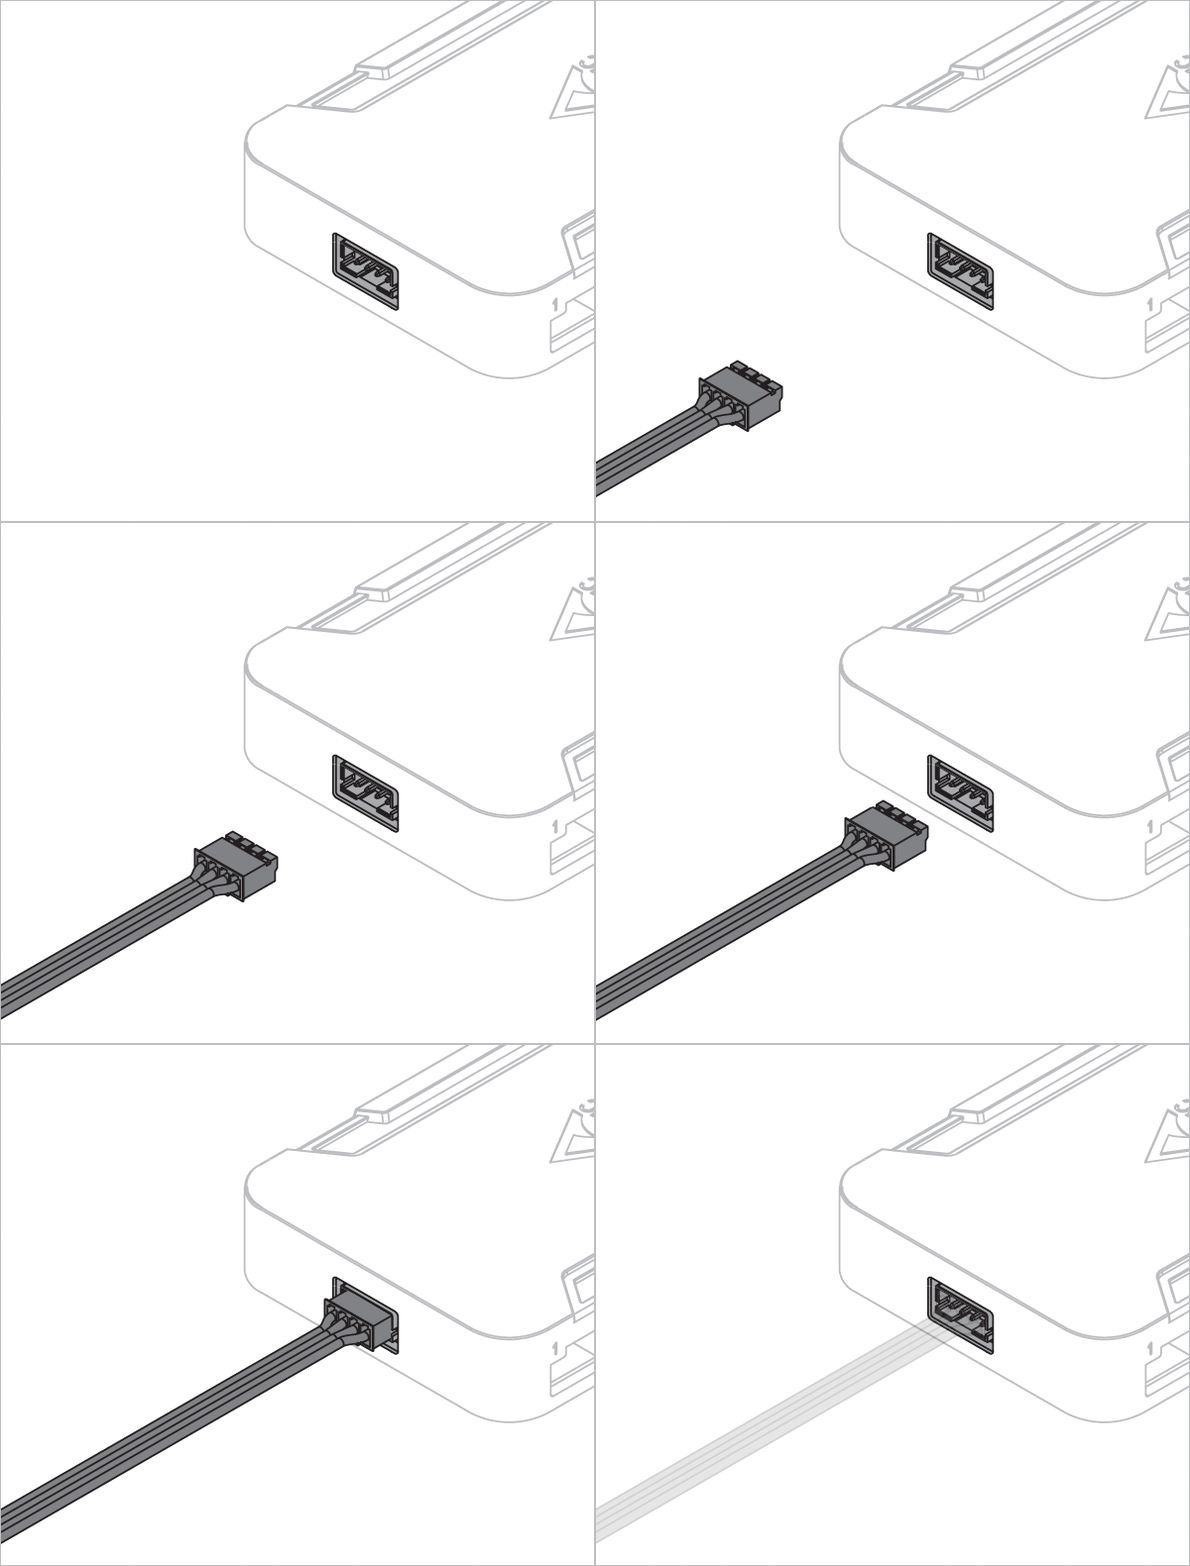
Connect the Fan Controller to a USB2.0 header on the motherboard using the USB Connection Cable.

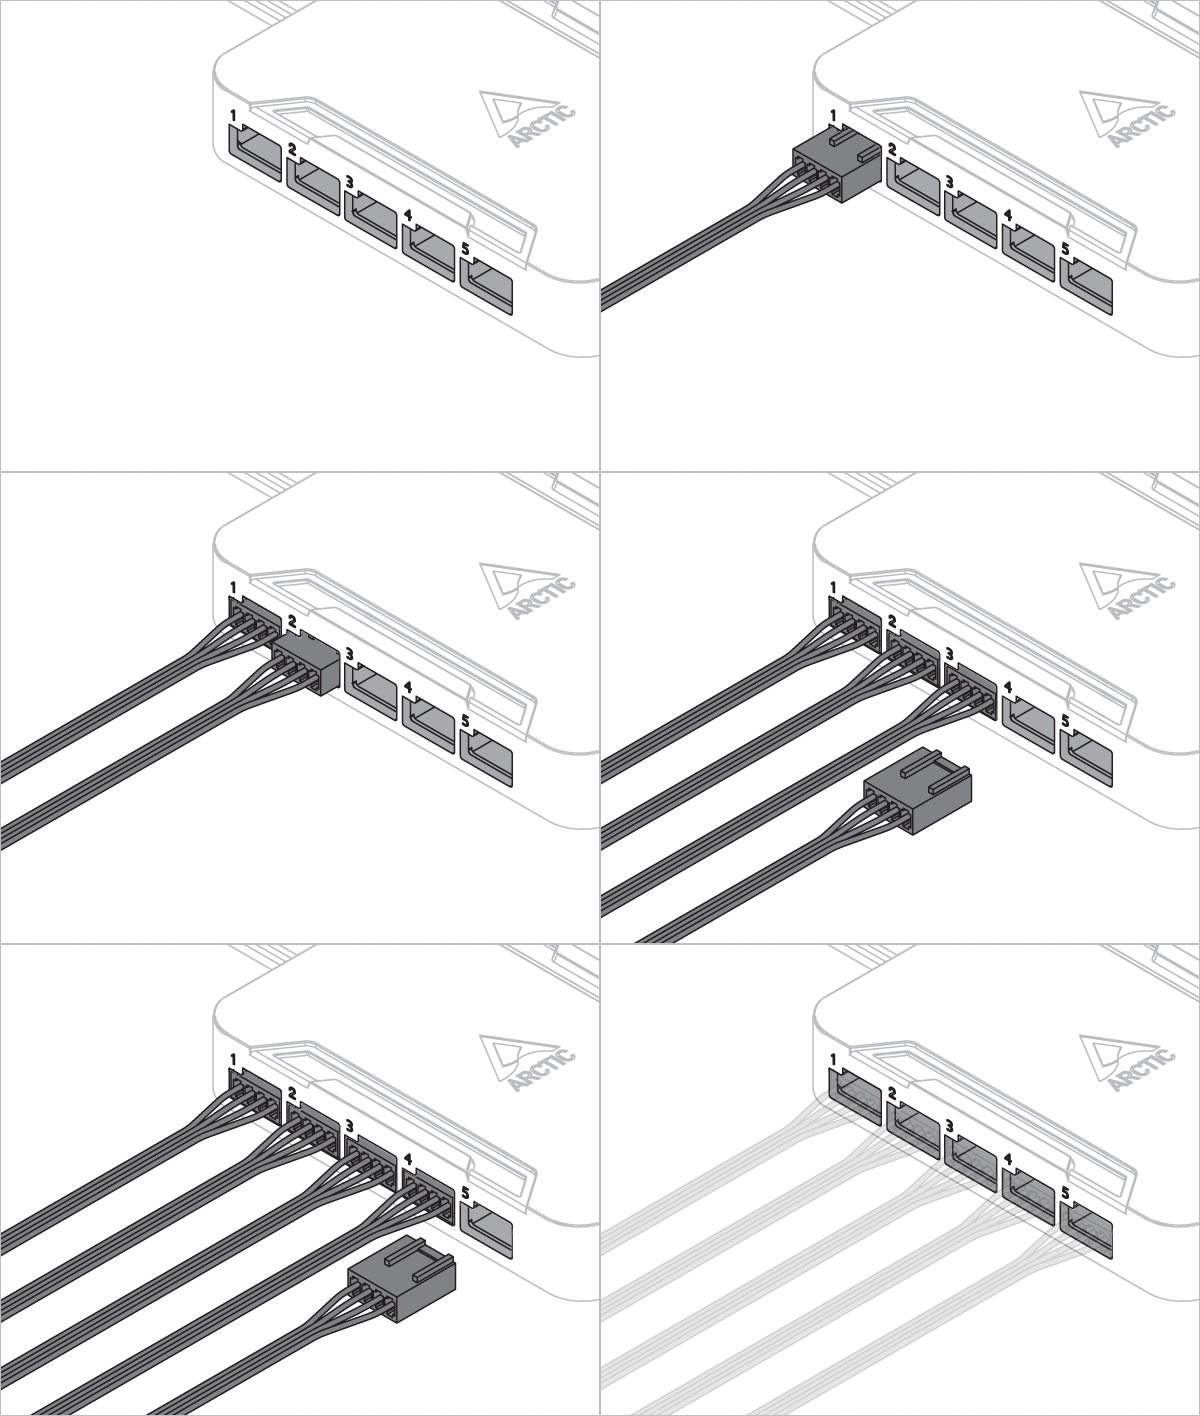
Connect the fans to the Fan Controller
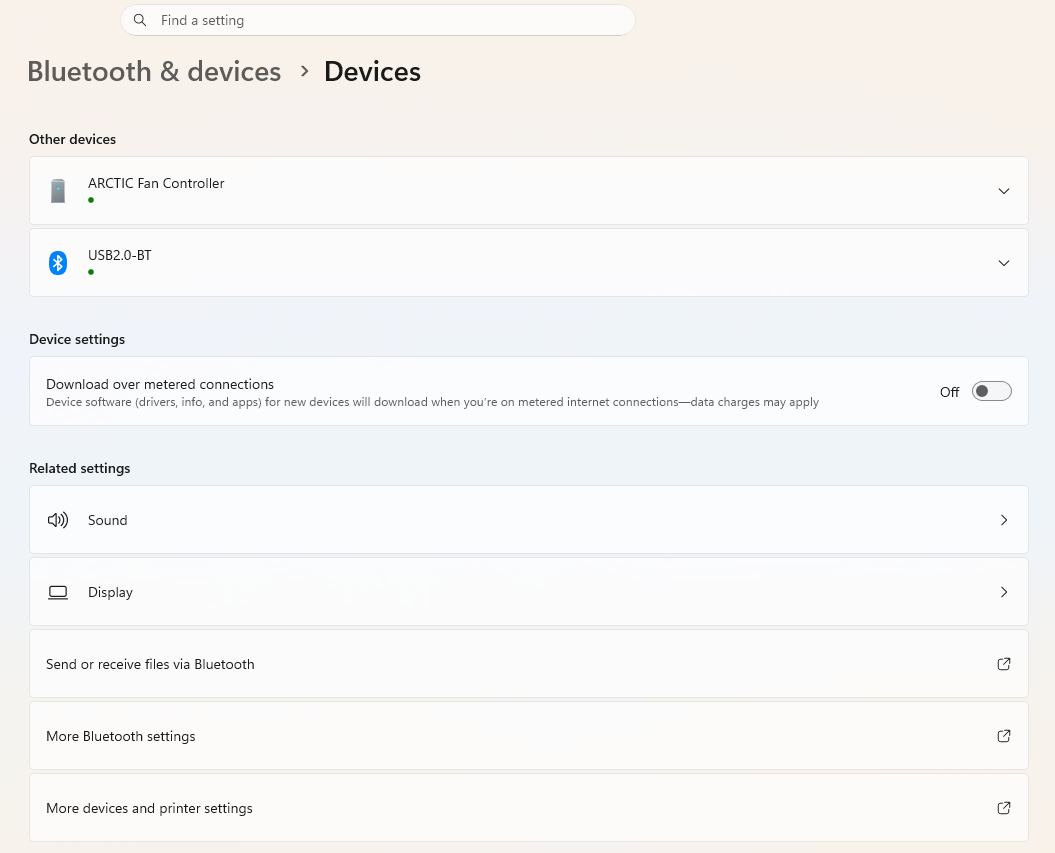
Turn on your PC, the Fan Controller will be automatically detected and shown under windows settings -> Bluetooth & Devices -> Devices -> other devices
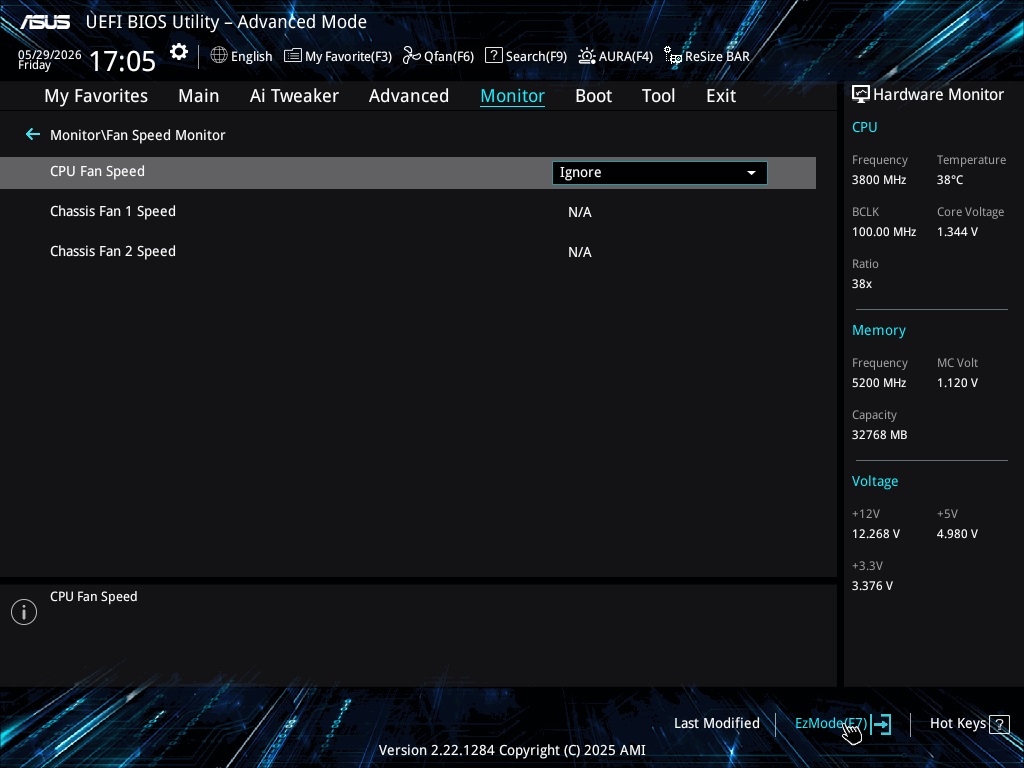
Some motherboards may require the CPU_FAN header to be connected, if this error occur, please follow this instruction to disable the CPU fan speed requirement.
During system startup and until the controller receives commands via USB, the controller sets the fans to a default 40% PWM duty cycle.
- SignalRGB
- Fan Control
Select your preferred software
Download SignalRGB

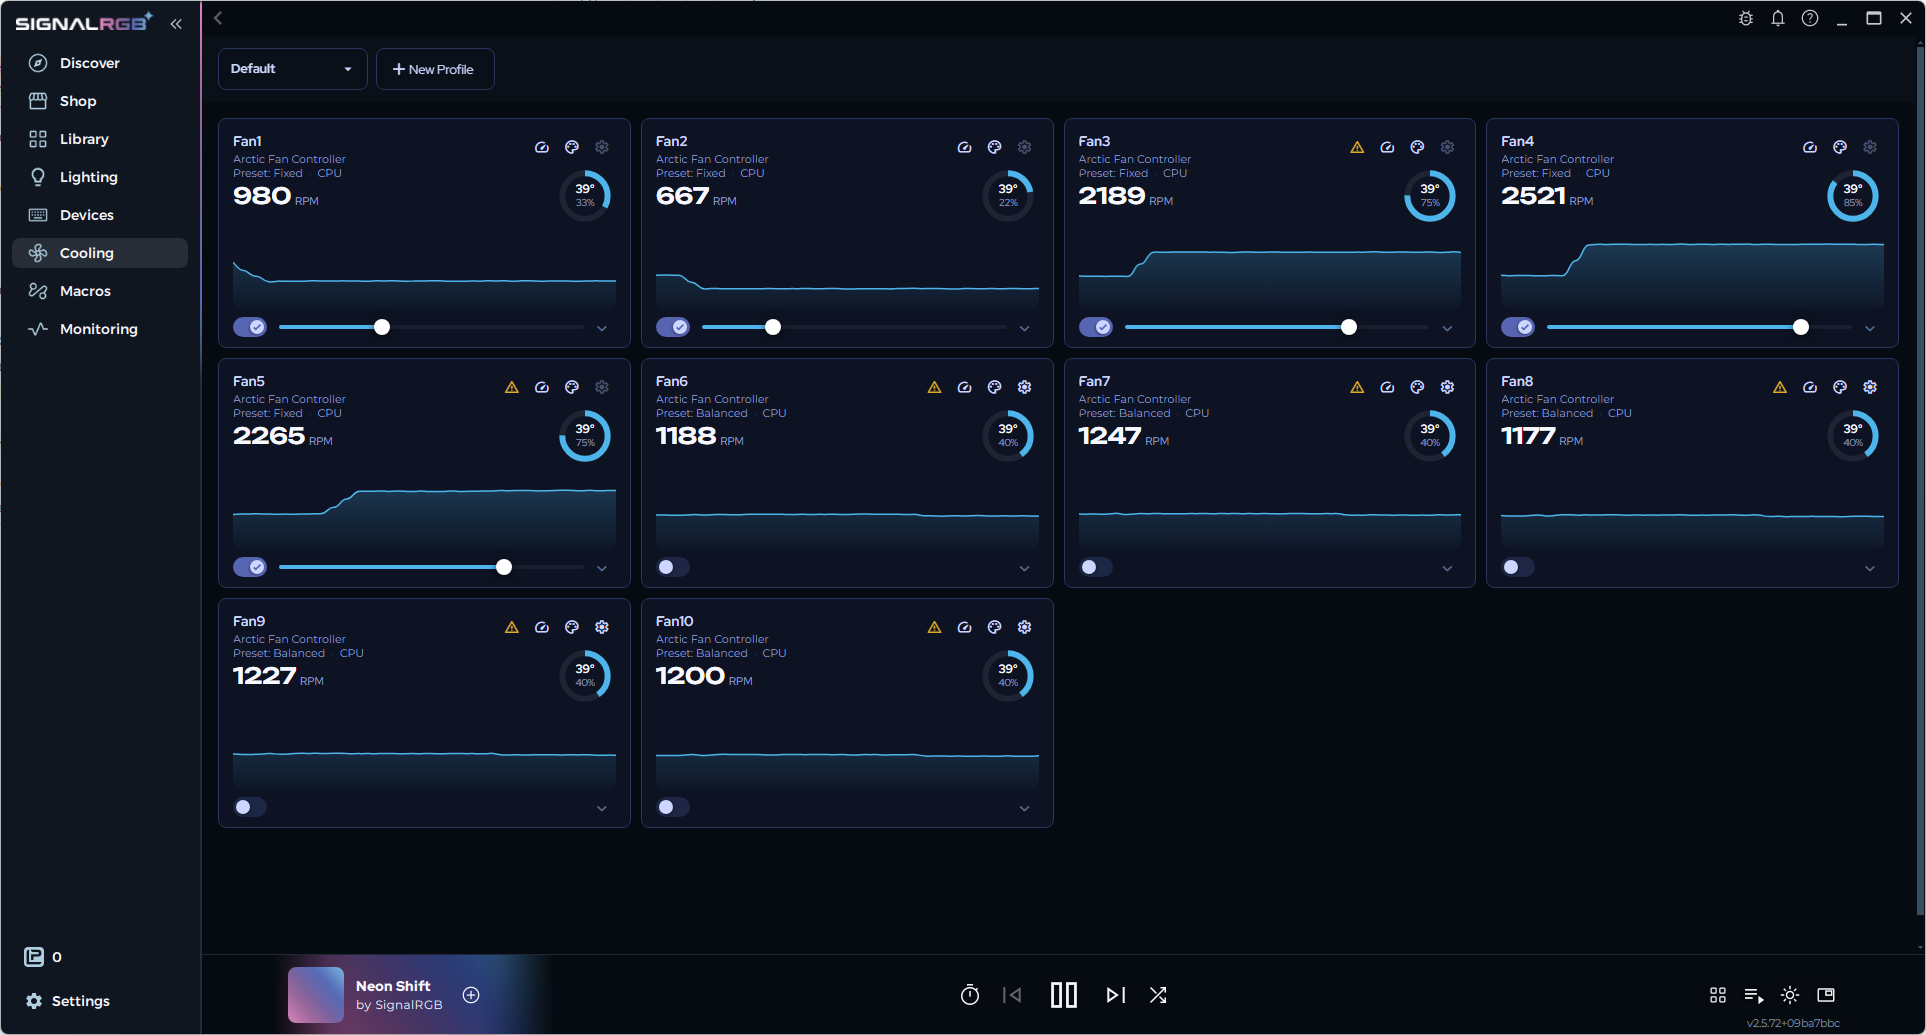
In SignalRGB all fans from Fan Controller will be shown in the Cooling page. For more information on how to configure the fans in SignalRGB, click the link below:
https://docs.signalrgb.com/gettingstarted/cooling
Download FanControl

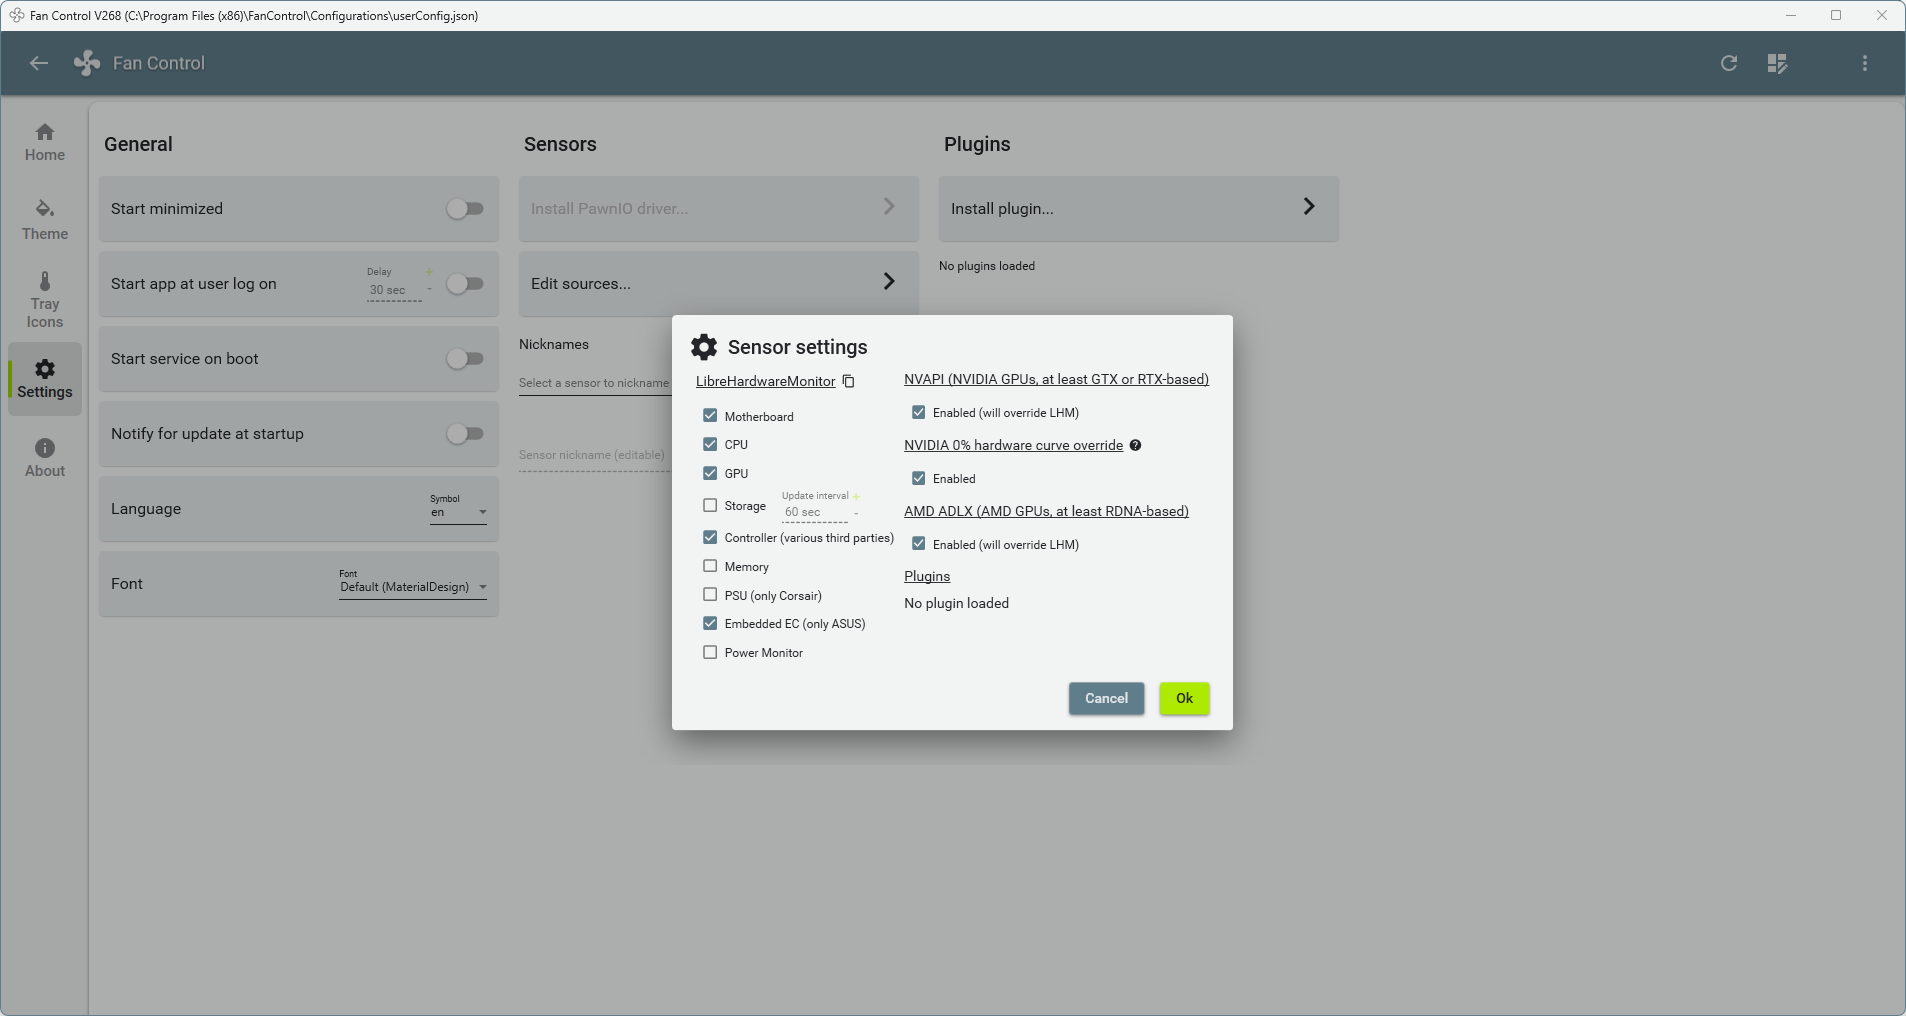
In FanControl, for first time set up go to settings page, click "Edit sources" and tick "Controller" checkmark, click "OK" and go back to Home page.
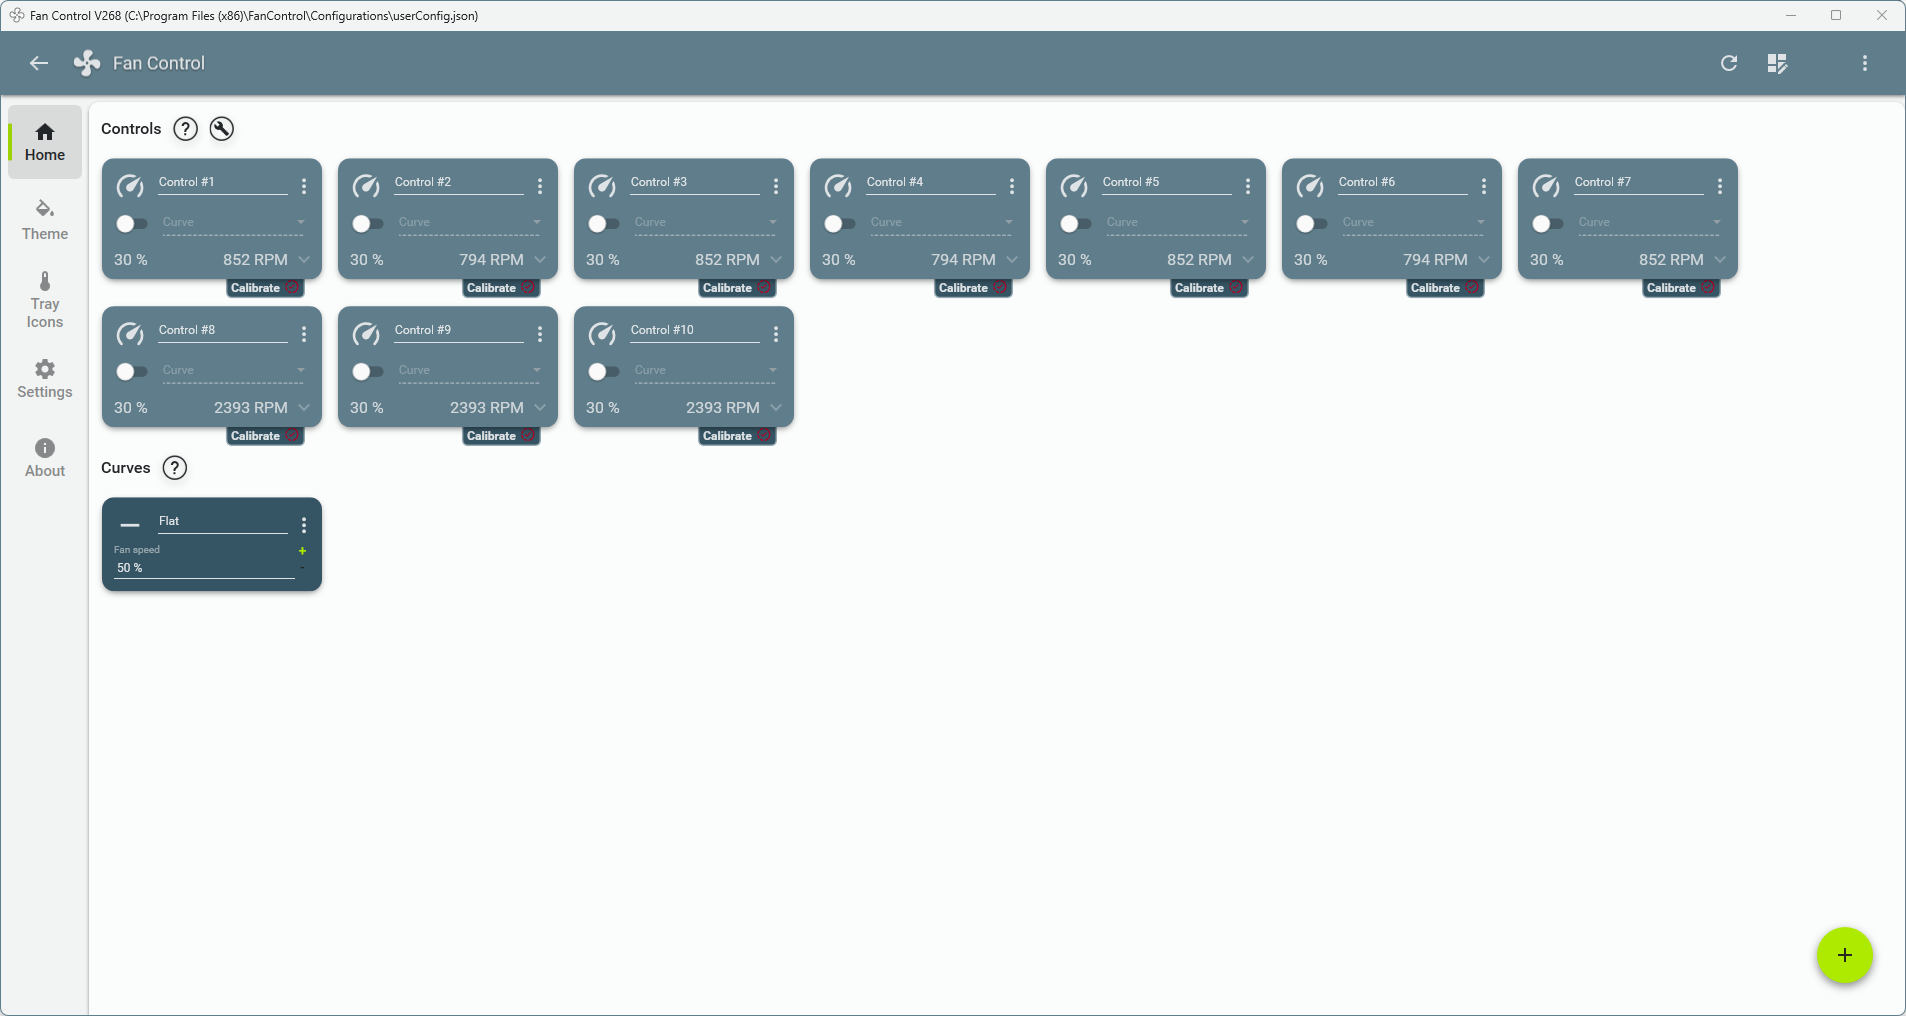
All fans will be shown on the Home page. For more information on how to configure the fans in FanControl, click the link below:
https://getfancontrol.com/docs/
Linux 7.2 or higher is required. The hwmon driver is included from this version and loads automatically.
Locate the hwmon index of the device (hwmon1, hwmon2, etc.):
HWMON=$(dirname $(grep -l '^arctic_fan$' /sys/class/hwmon/hwmon*/name))
echo $HWMON

If a dirname error appears, see Troubleshoot.
PWM values range from 0 to 255. Set PWM with:
for i in $(seq 1 10); do echo 150 | sudo tee $HWMON/pwm$i; done
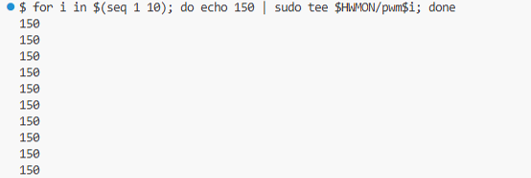
When the device connects, the driver PWM cache starts at 0 PWM. This may differ from the PWM the fans are running. Each command sends all fan PWM values at once. It is recommended to set a desired PWM value for all connected fans first. Otherwise, setting one fan applies 0 PWM to the remaining fans.
Verify PWM values with:
for i in $(seq 1 10); do echo "pwm$i: $(cat $HWMON/pwm$i)"; done
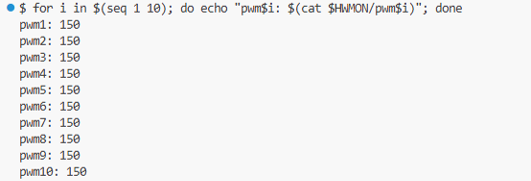
Read fan RPM with:
for i in $(seq 1 10); do echo "fan$i: $(cat $HWMON/fan${i}_input)"; done
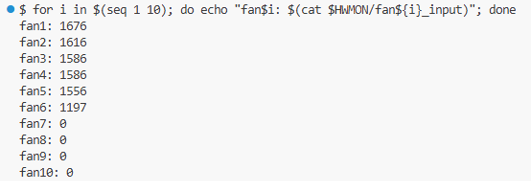
The driver was verified on Ubuntu 20.04.6 LTS with Linux kernel 5.15, using out-of-tree kernel module.
Disabling the CPU Fan Speed Requirement
Go to BIOS by repeatedly pressing the BIOS key after restarting your PC (F2, F12 or Delete), the exact key and configuration may vary from different manufacturers.
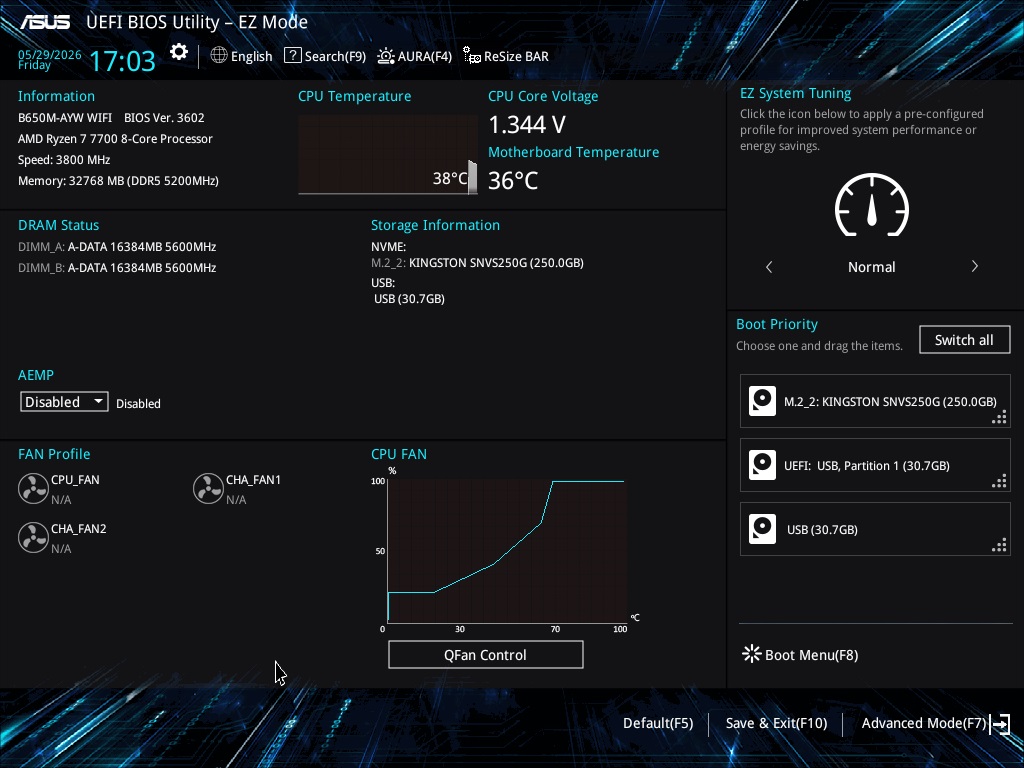
Click Advanced Mode(F7)
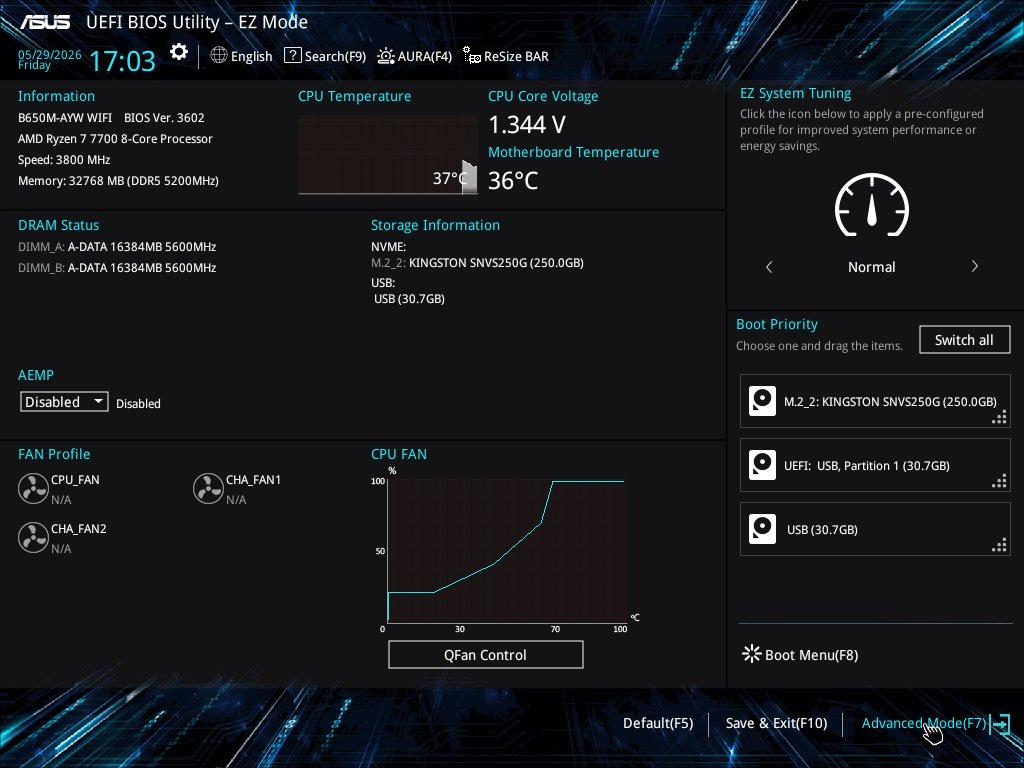
Click Monitor tab
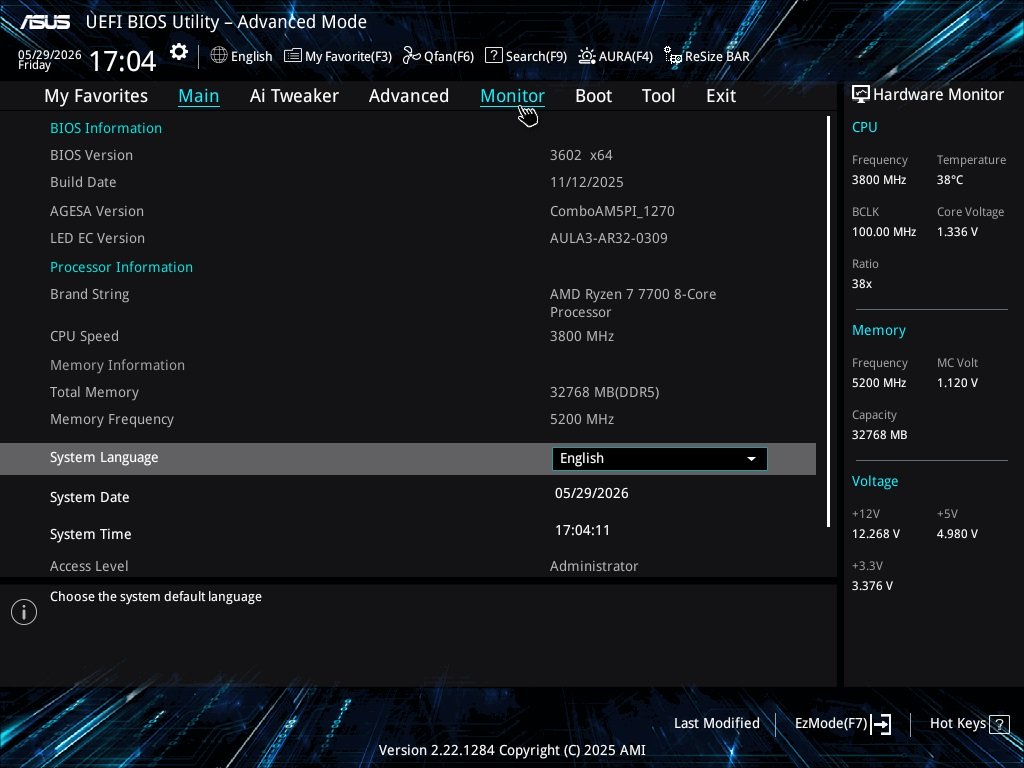
Click Fan Speed Monitor
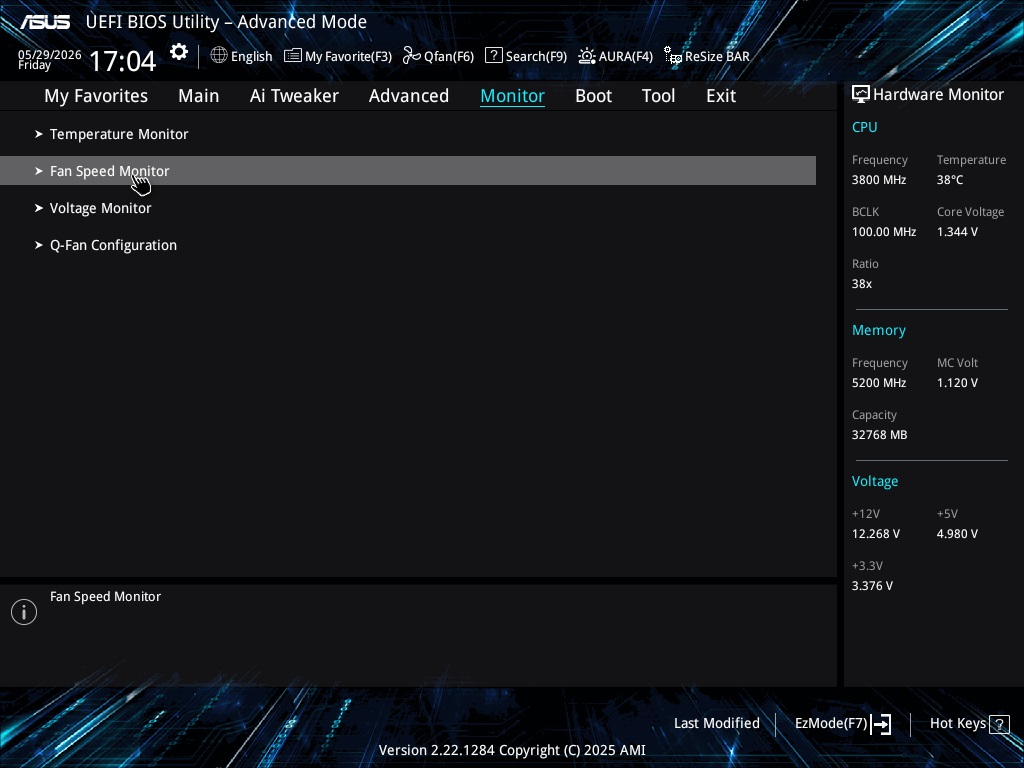
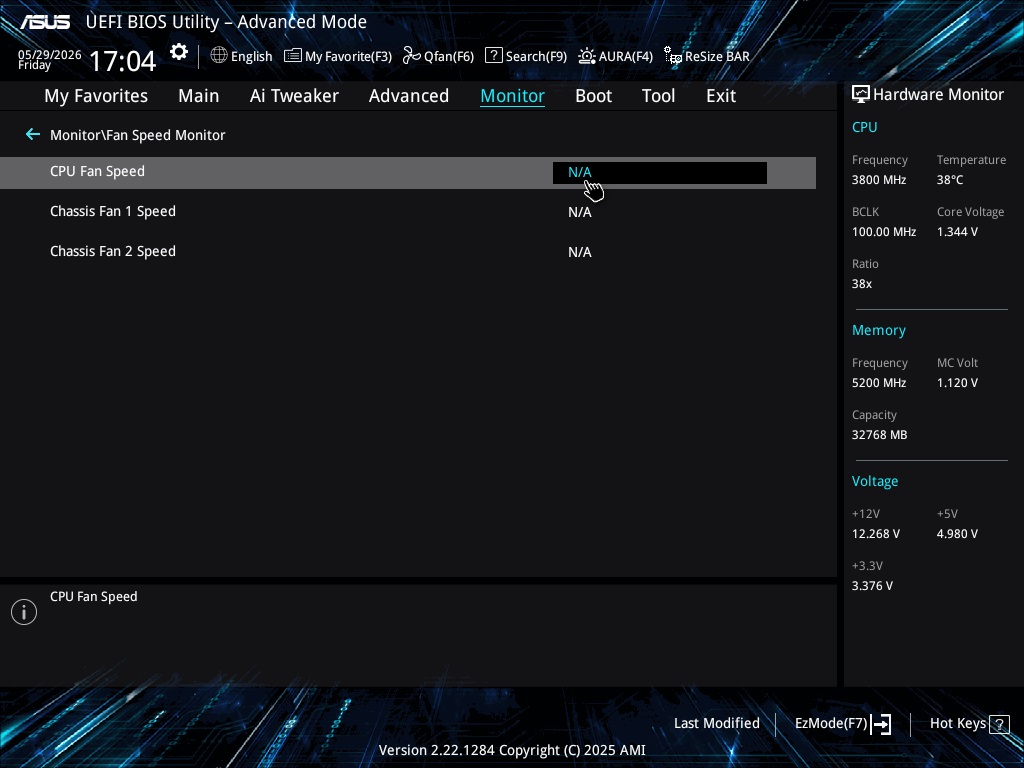
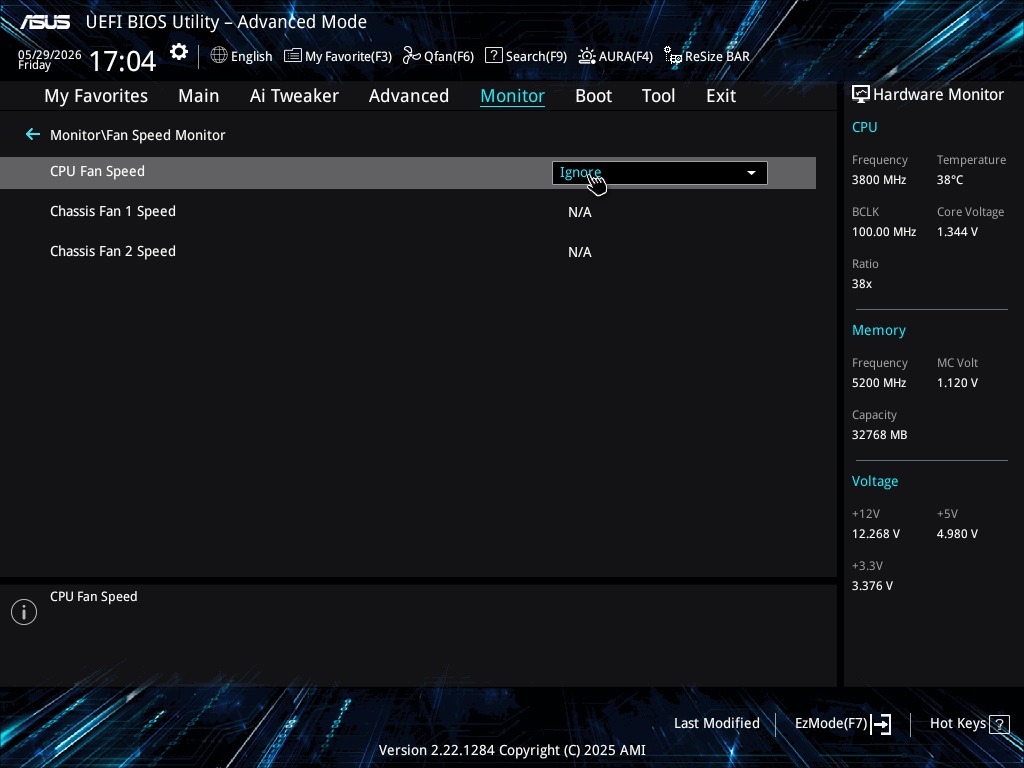
Set CPU Fan Speed to Ignore
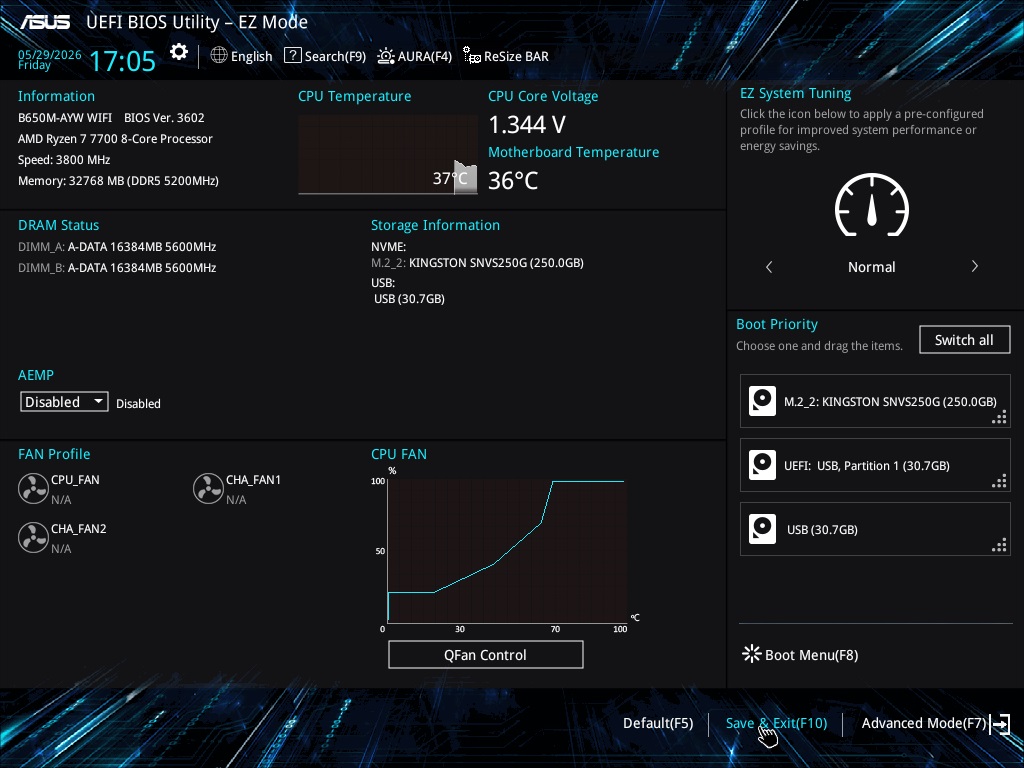
Go back to EzMode(F7)
Click Safe and Exit
Linux: Controller not detected
If the controller is not found, the terminal shows:

Check if the device is connected:
lsusb | grep 3904

If the device does not appear, it is not connected. Try another internal USB 2.0 header or check if the device is properly powered.
If the device appears, the hardware is connected and the driver did not load. This is usually due to a kernel older than Linux 7.2, or to the driver being disabled in this kernel.


