A printable quick start guide is available here.
To check the compatibility of your motherboard, please follow this link.
To check the compatibility of your graphics card, please follow this link.
Required Tools
 PH2 Phillips Head Screwdriver
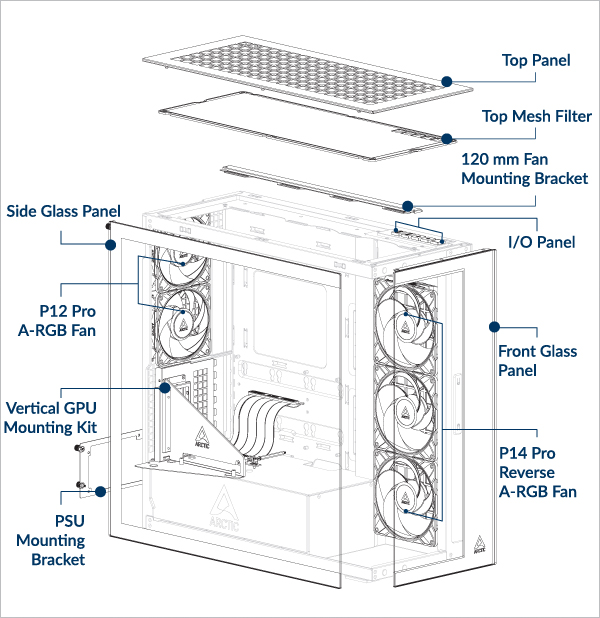
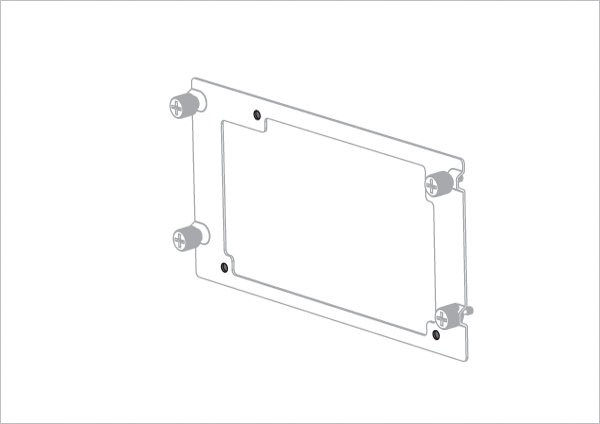
Packaging Content

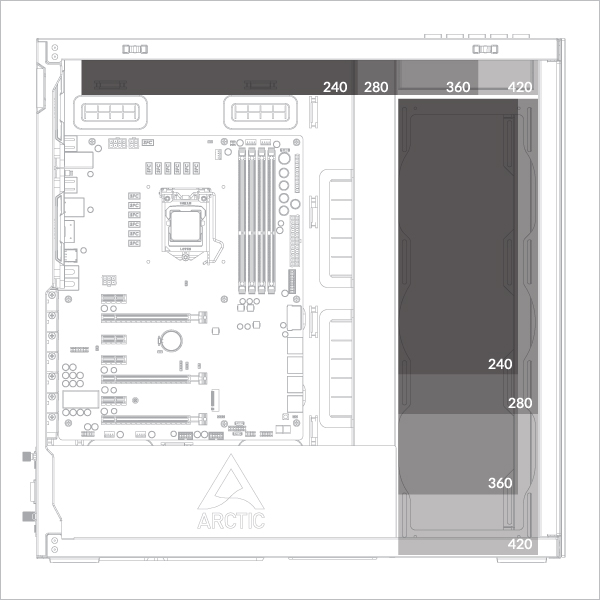
Clearances and Specifications
If you are using the Liquid Freezer III Pro AIO cooler with a vertical GPU mount, then:
For AMD platforms: it is recommended that your graphic card width does not exceed 130mm.
For Intel platforms: it is recommended that your graphic card width does not exceed 143mm.
w/o HDD Cage: Max Length = 318mm
With HDD Cage: Max Length = 200mm
Max Length = 482mm (w/o Side Radiator)
Radiator Support Table
Maximum Thickness (Fan + Radiator Combination)
Side: <176mm
Side: <176mm
Side: <176mm
Side: <176mm
Side: <176mm
Side: <176mm
Side: <176mm
Side: <176mm
Side: <176mm
Side: <176mm
Side: <176mm
Side: <176mm
Side: <176mm
Side: <83mm (Max 56mm radiator)
Side: <176mm
Side: <65mm (Max 38mm radiator)
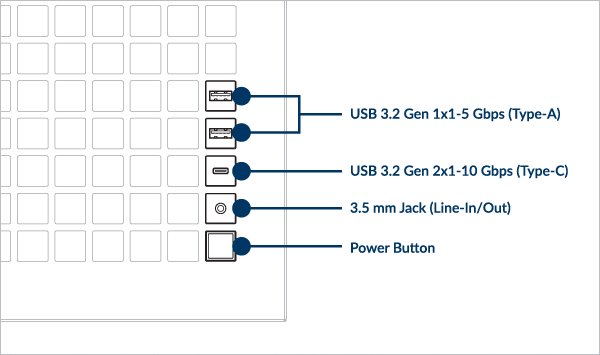
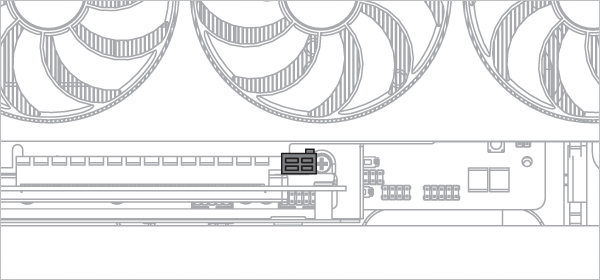
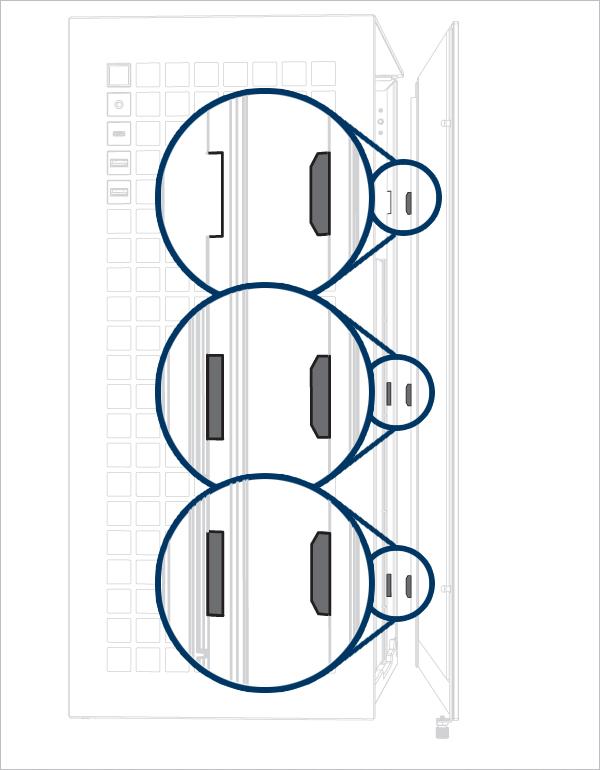
Front I/O Panel Specification
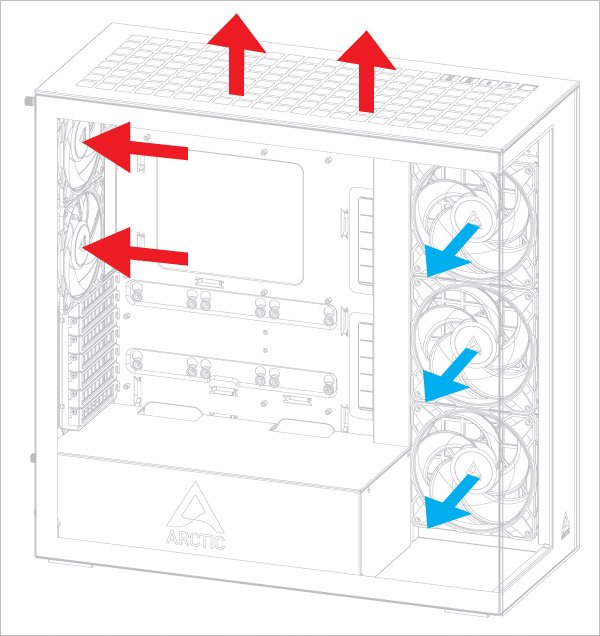
Recommended Airflow direction
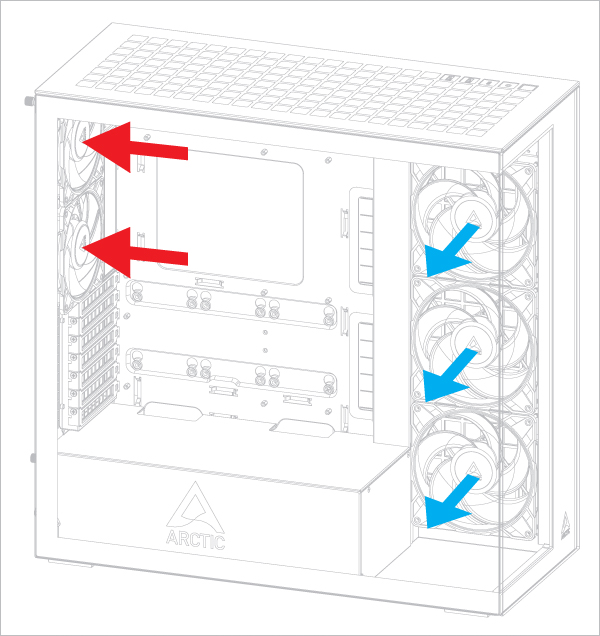
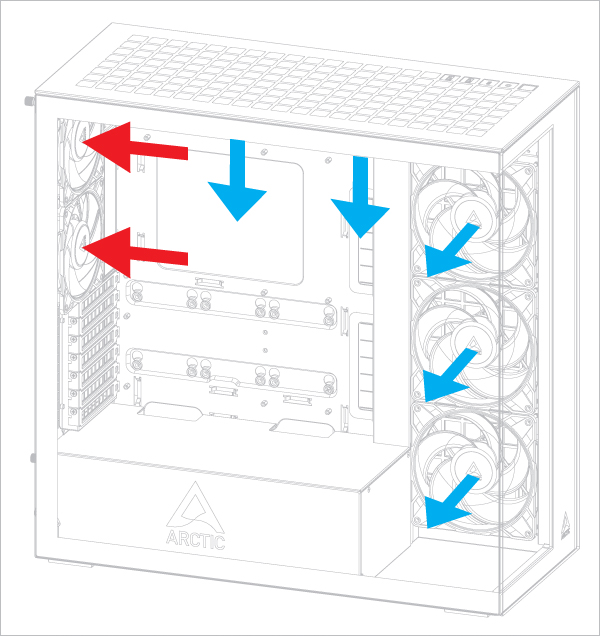
Airflow Direction of Top-Mounted Fans
This configuration slightly favors the graphics card temperature.
This configuration slightly favors the CPU temperature.
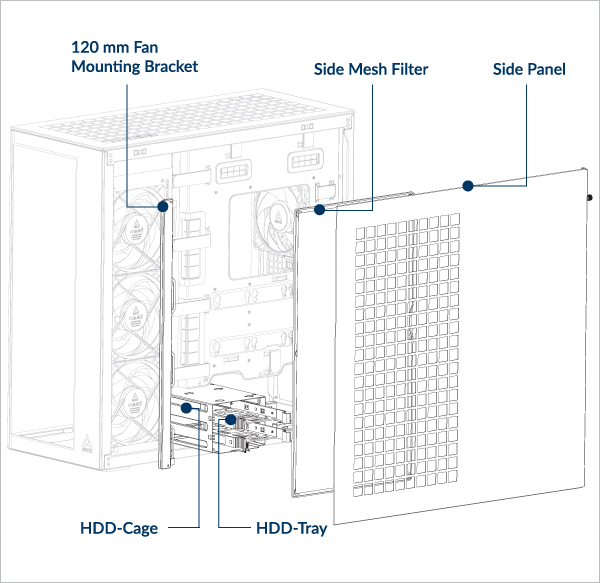
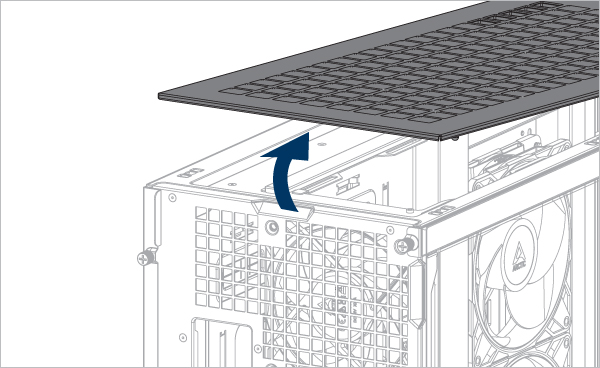
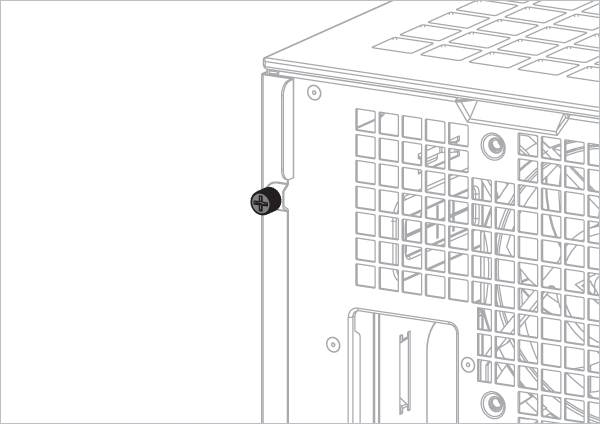
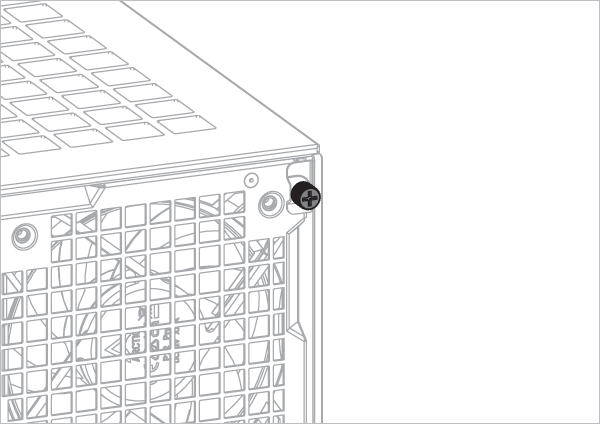
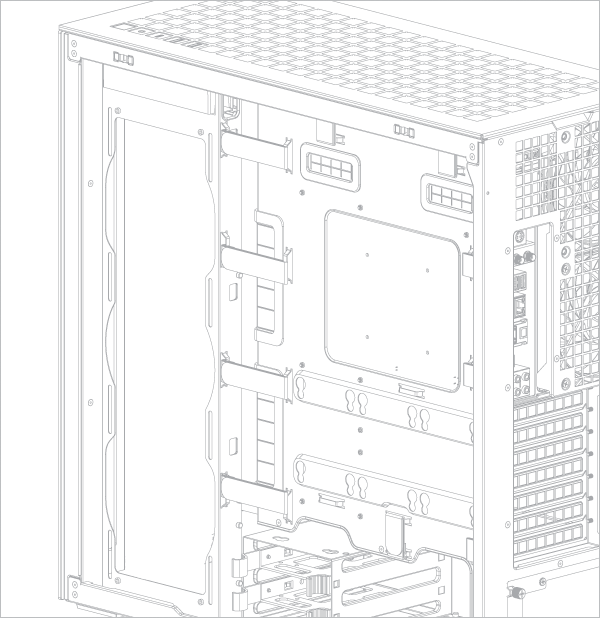
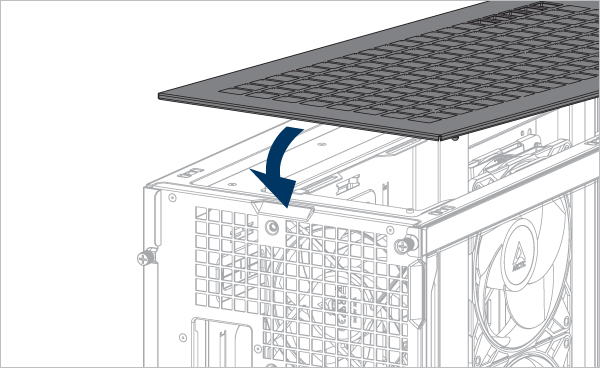
Panel Removal

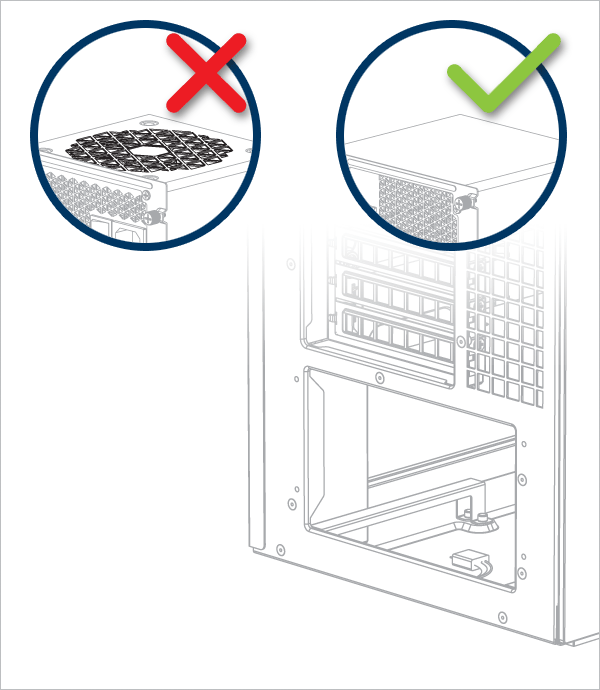
PSU Installation


Important! Install the PSU with the fan facing downward.
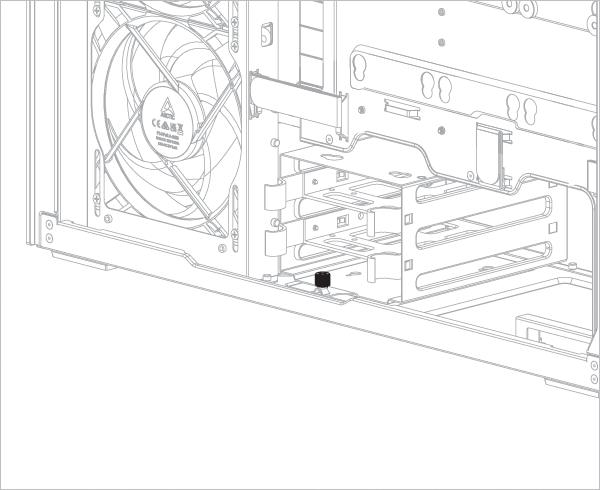
Removing the HDD cage will free up additional space for the power supply unit (PSU) or cable management (optional).
Motherboard Installation
To check the compatibility of your motherboard, please follow this link.
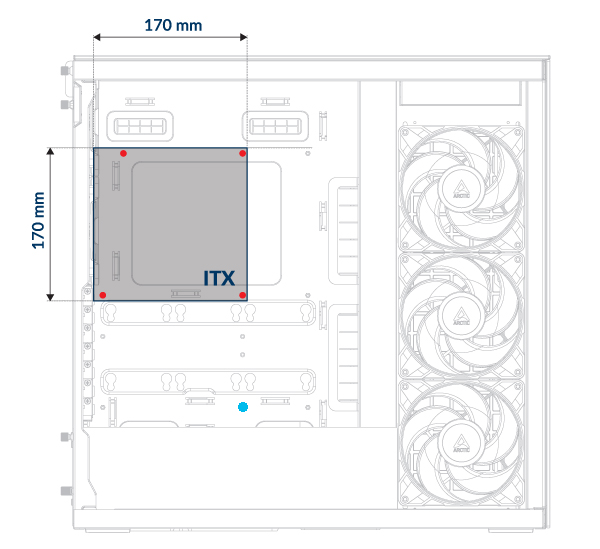
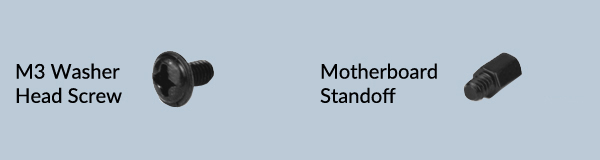
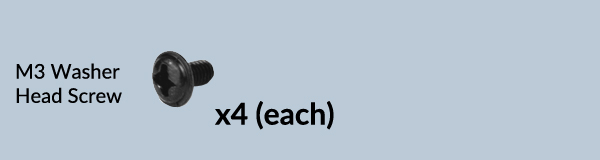
You need four M3 washer head screws to install a Mini-ITX motherboard.
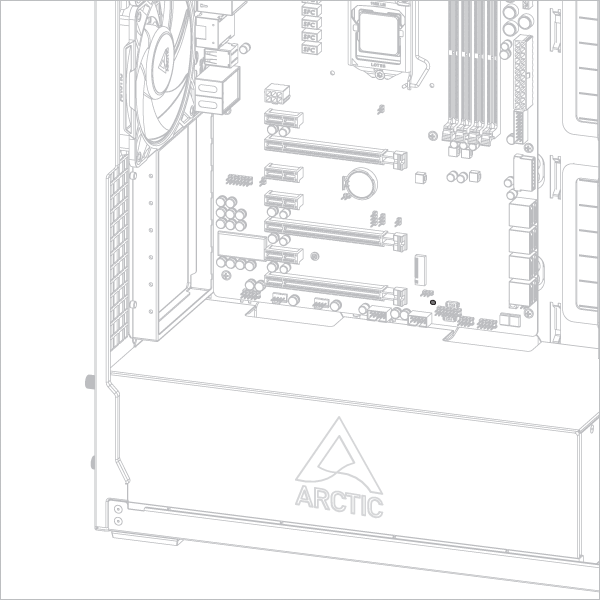
Leave the screw hole marked with a blue dot empty - it's reserved for installing the Vertical GPU Mounting kit.


For mATX motherboards, make sure to install the additional standoff on the motherboard tray. Secure the motherboard with M3 washer head screws
Leave the screw hole marked with a blue dot empty - it's reserved for installing the Vertical GPU Mounting kit.
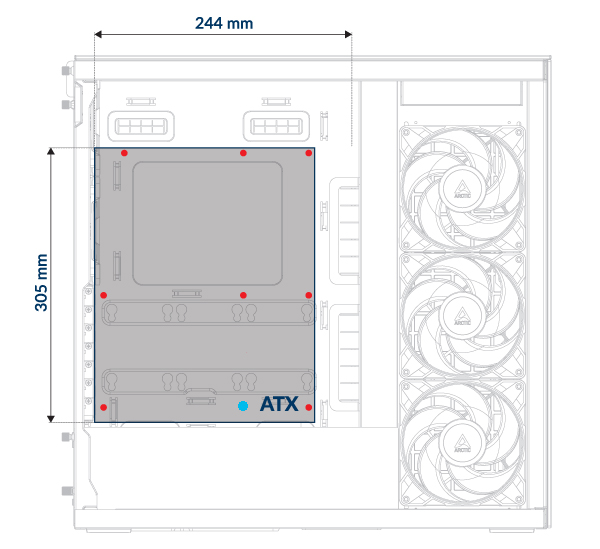
For an ATX motherboard, you need 9x M3 washer head screws for installation. The number of screws may vary depending on the motherboard model.
Leave the screw hole marked with a blue dot empty - it's reserved for installing the Vertical GPU Mounting kit.

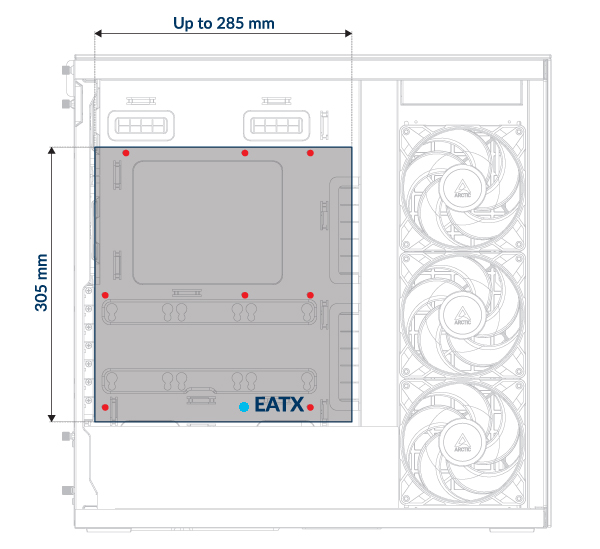
For an E-ATX motherboard, you need 9x M3 washer head screws for installation. The number of screws may vary depending on the motherboard.
Leave the screw hole marked with a blue dot empty - it's reserved for installing the Vertical GPU Mounting kit.
Remove the Vertical GPU Mounting Kit before installing the motherboard.
The I/O shield must be installed before the motherboard.
The I/O shield is supplied as an accessory with the motherboard.
Some motherboards may have an integrated I/O shield.
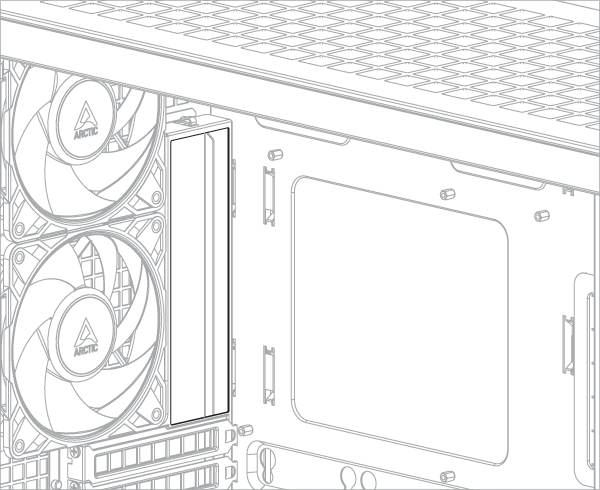
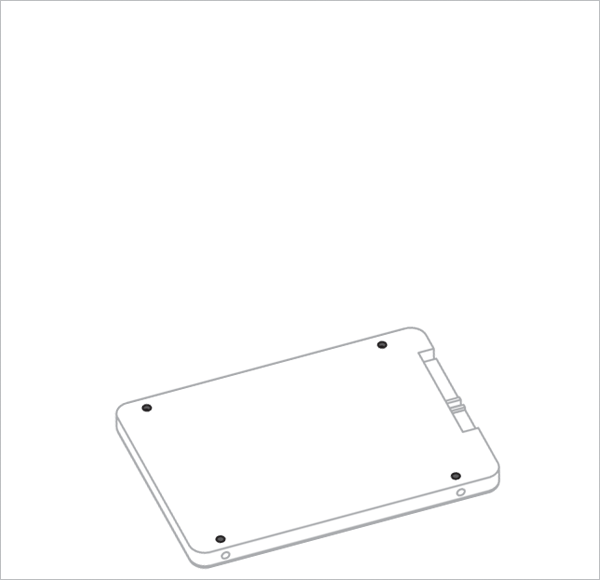
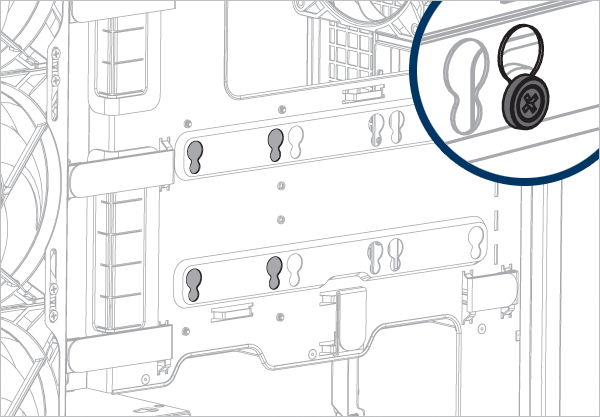
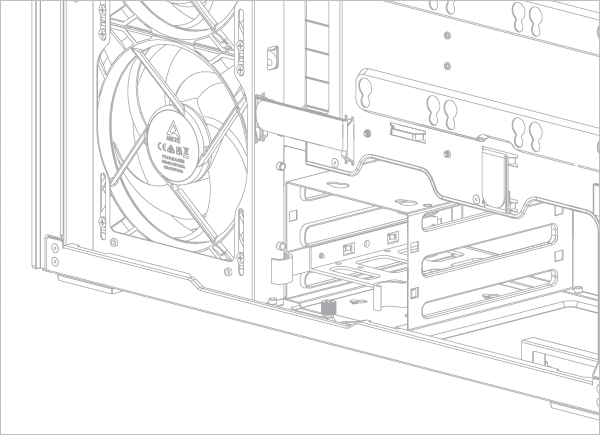
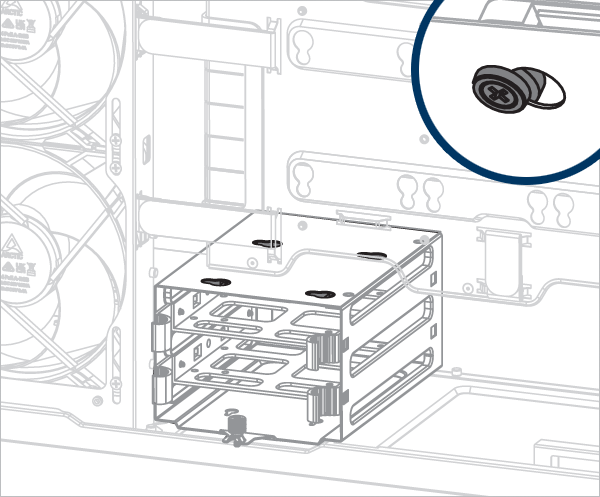
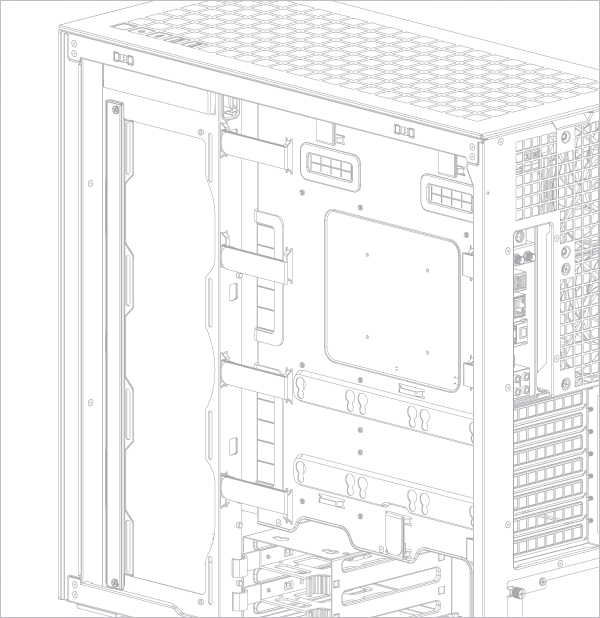
SSD and HDD Installation
SSD and HDD Position
Support up to maximum 6 x 2.5”SSD or 4 x 2.5”SSD + 2 x 3.5” HDD
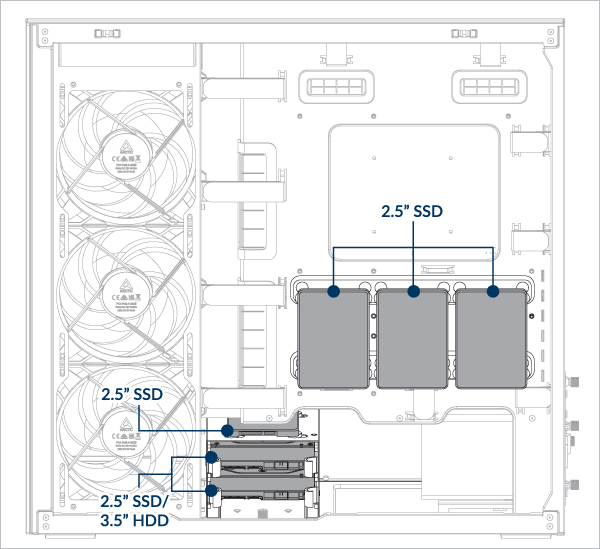
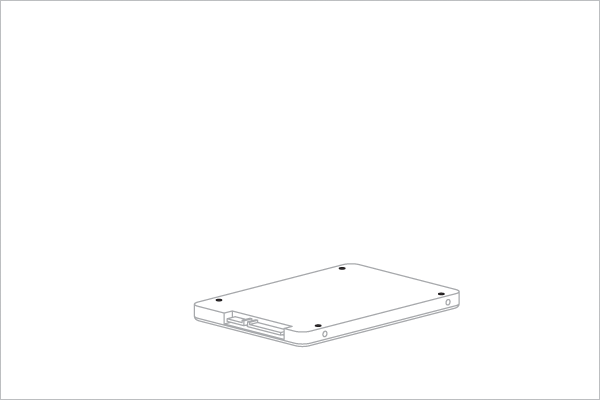
- Install an SSD on the motherboard tray
- Install an SSD in the HDD Tray
- Install an HDD
- Install an SSD on top of the HDD cage

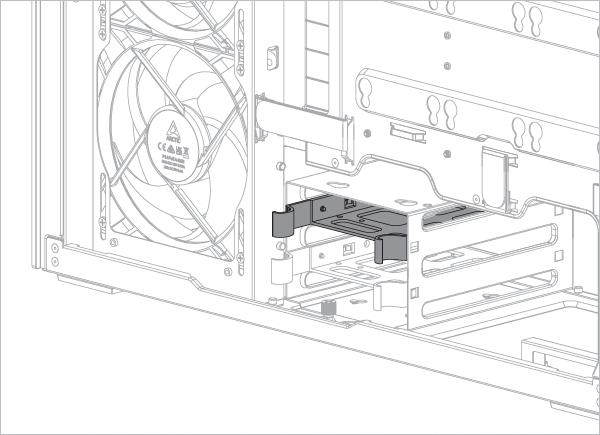


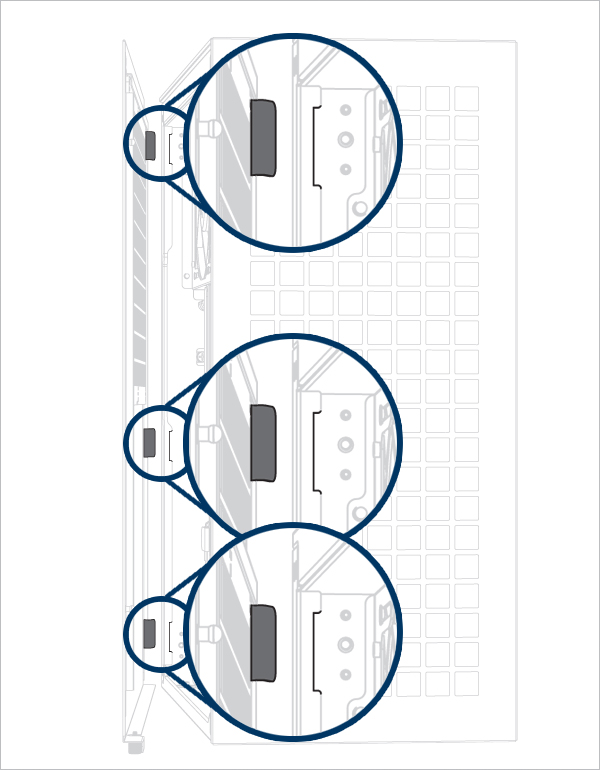
Align the pegs on the hard disk tray with the holes on the HDD.
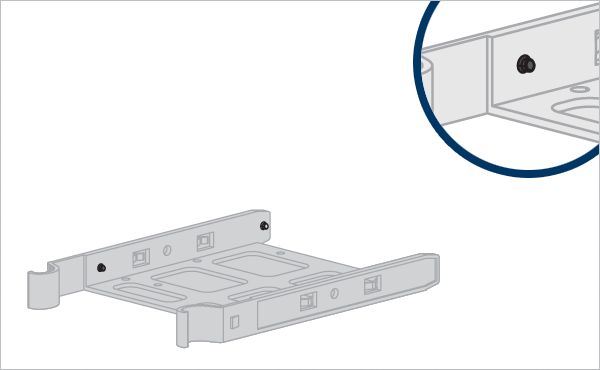


Align the dampers on the SSD with the mounting holes on the HDD cage.
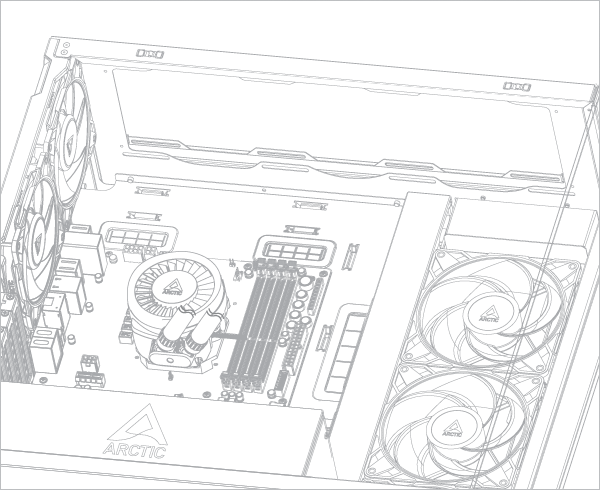
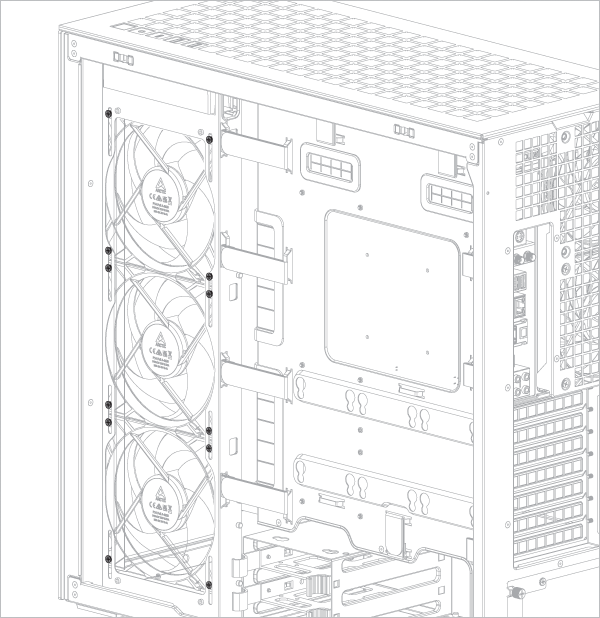
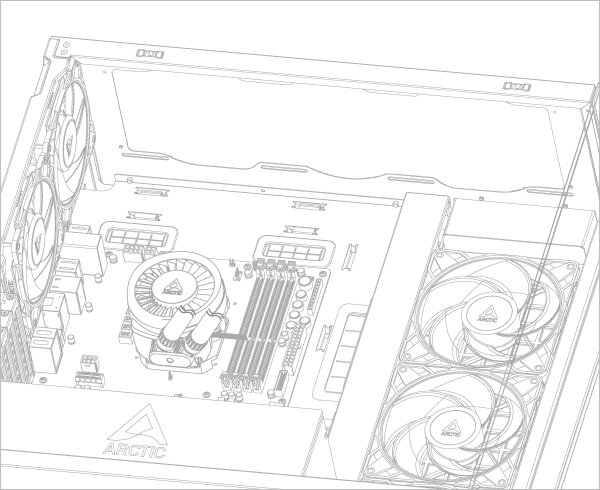
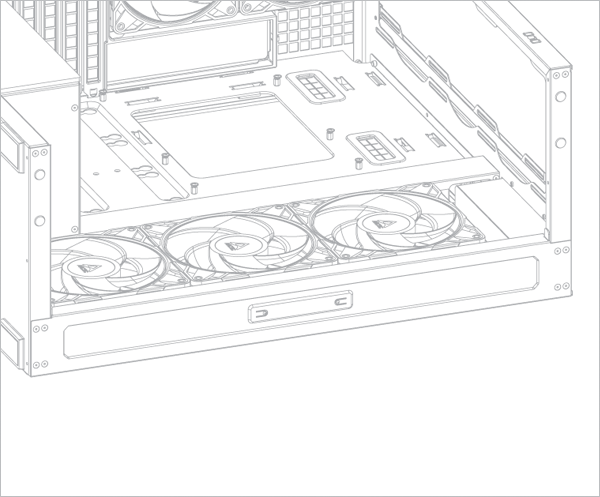
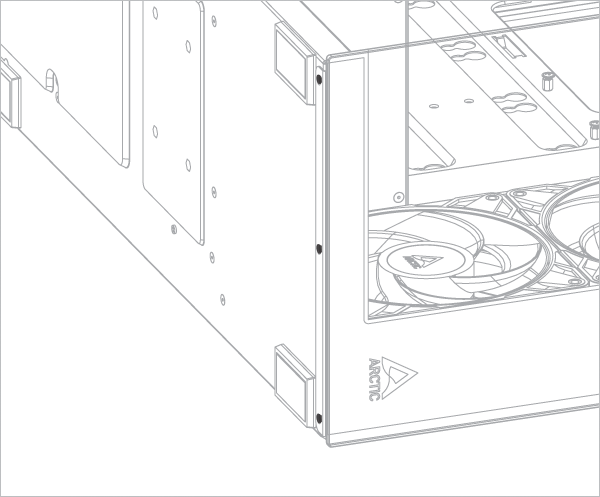
Fan/Radiator Installation
Fan support
Supports up to 3× 120 or 140 mm fans on the top and on the side panel.
Support 2x 120 mm fans at the rear
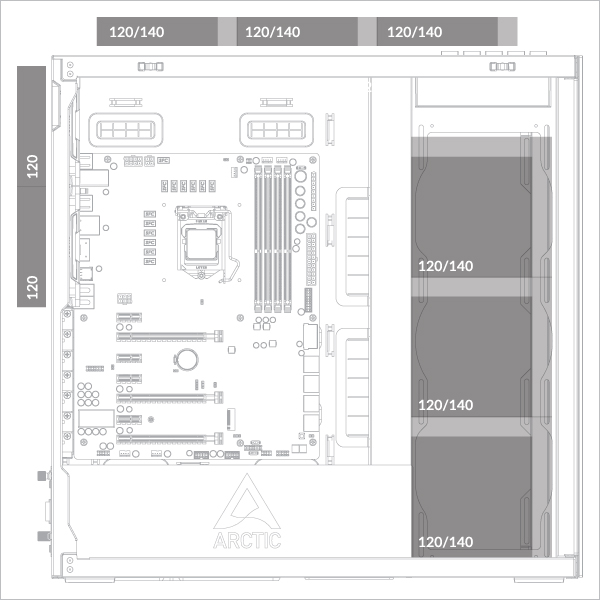
Radiator support
Maximum Thickness (Fan + Radiator Combination)
Side: <176mm
Side: <176mm
Side: <176mm
Side: <176mm
Side: <176mm
Side: <176mm
Side: <176mm
Side: <176mm
Side: <176mm
Side: <176mm
Side: <176mm
Side: <176mm
Side: <176mm
Side: <83mm (Max 56mm radiator)
Side: <176mm
Side: <65mm (Max 38mm radiator)
To check the compatibility of your graphics card, please follow this link.
- 360/240 mm on top panel
- 360/240 mm on side panel
- 420/280 mm on top panel
- 420/280 mm on side panel
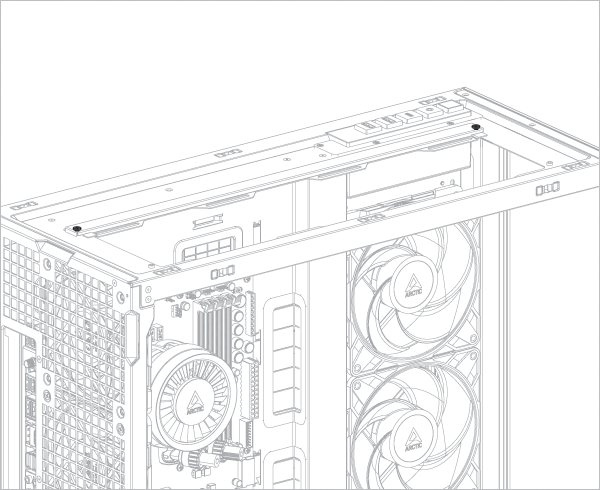
Radiator Installation

If you are using ARCTIC liquid cooler, please refer to this page for additional installation tips: ARCTIC AIO Water Coolers - User Manual
Remove the fans before installing the radiator on the side panel.
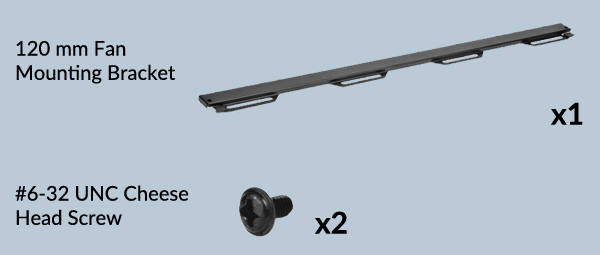
Attach the fan mounting bracket before installing a 240 mm or 360 mm radiator.
If you are using ARCTIC liquid cooler, please refer to this page for additional installation tips: ARCTIC AIO Water Coolers - User Manual
Remove the fan mounting bracket before installing a 280 or 420 mm radiator.

If you are using ARCTIC liquid cooler, please refer to this page for additional installation tips: ARCTIC AIO Water Coolers - User Manual
Remove the fans before installing the radiator on the side panel.

If you are using ARCTIC liquid cooler, please refer to this page for additional installation tips: ARCTIC AIO Water Coolers - User Manual
Cable Connection
Front I/O and Power Button
Connect the cables to motherboard headers accordingly
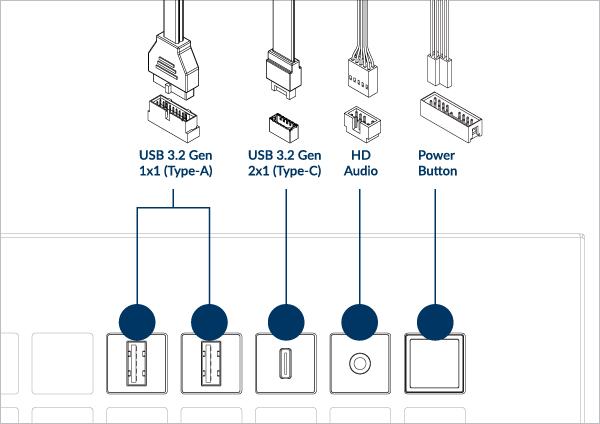
Check your motherboard manual for the header or pin position
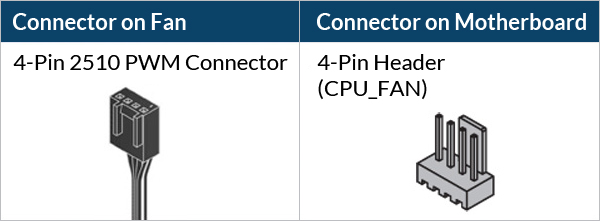
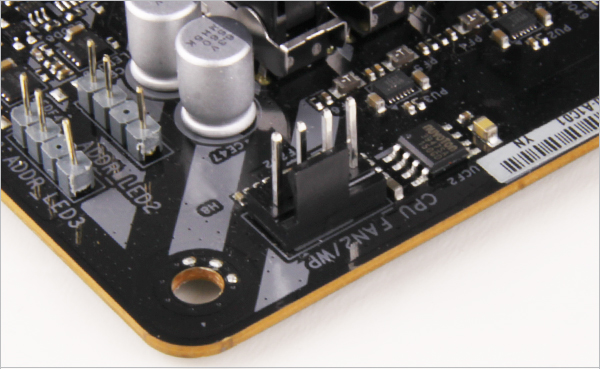
Fan Cable Connection

If you don’t have enough fan headers on your motherboard, we recommend using the ARCTIC Case Fan Hub
To get the best out of your fans, it is recommended to adjust the fan speed control in the BIOS, follow this guide to adjust your PWM.


Don’t connect more than 5 Fans/Stripes to one header
To take full advantage of your A-RGB products, check out the A-RGB Setup Guide.
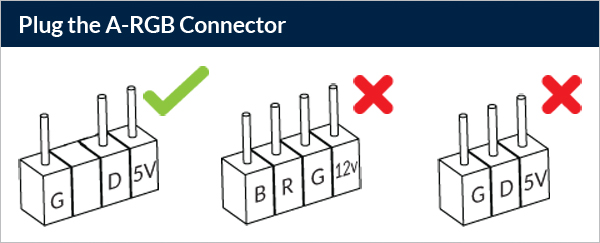
PSU RGB Stripe Cable Connection
Find the PSU RGB cables in the PSU chamber.
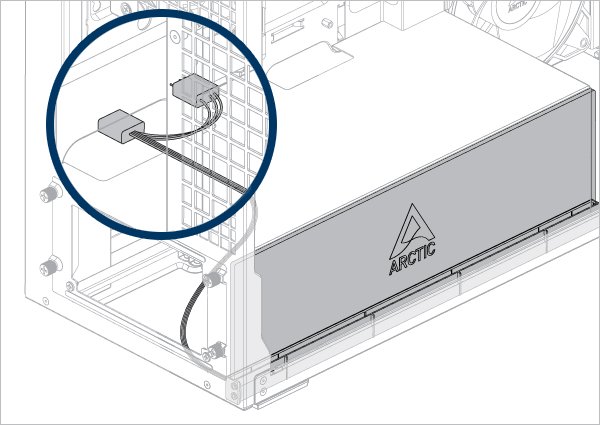
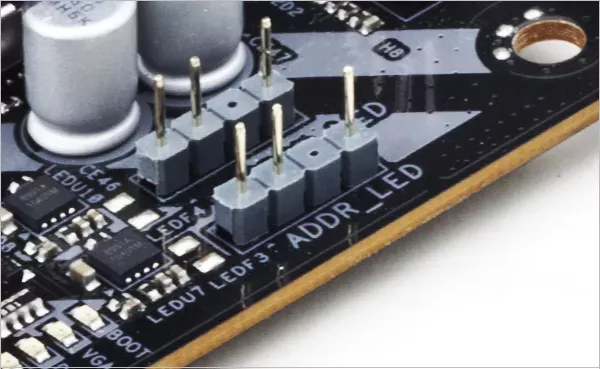
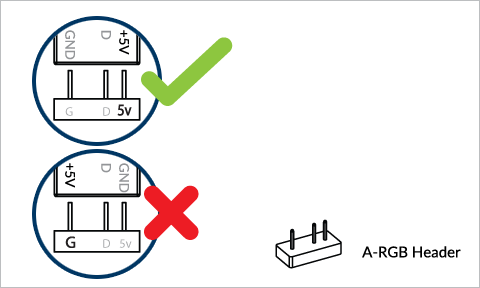
Connect it to the 3 Pin A-RGB connector on the motherboard


Don’t connect more than 5 Fans/Stripes to one header
To take full advantage of your A-RGB products, check out the A-RGB Setup Guide.
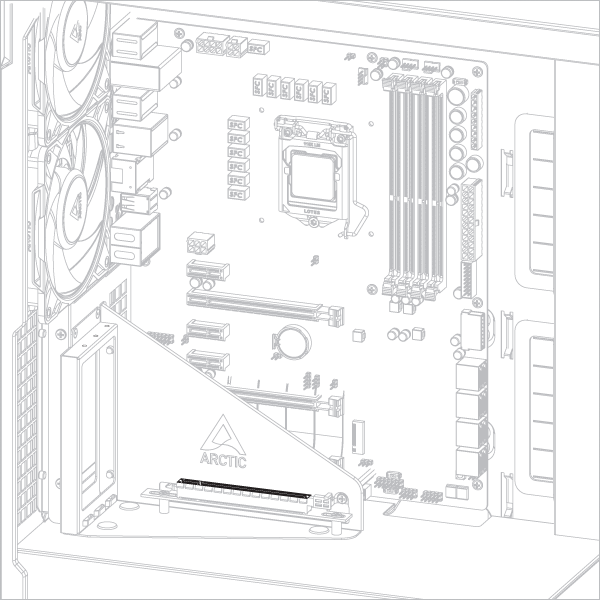
Graphic Card Installation
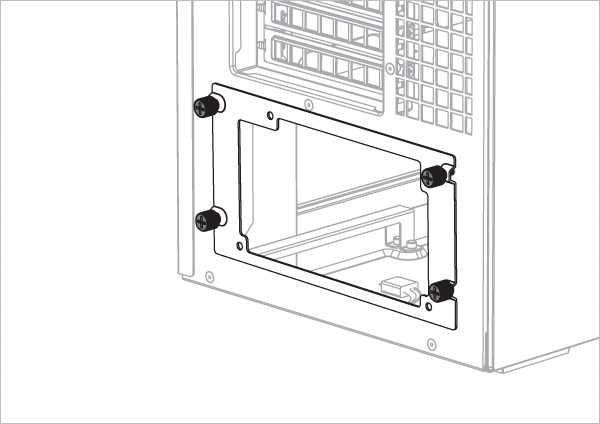
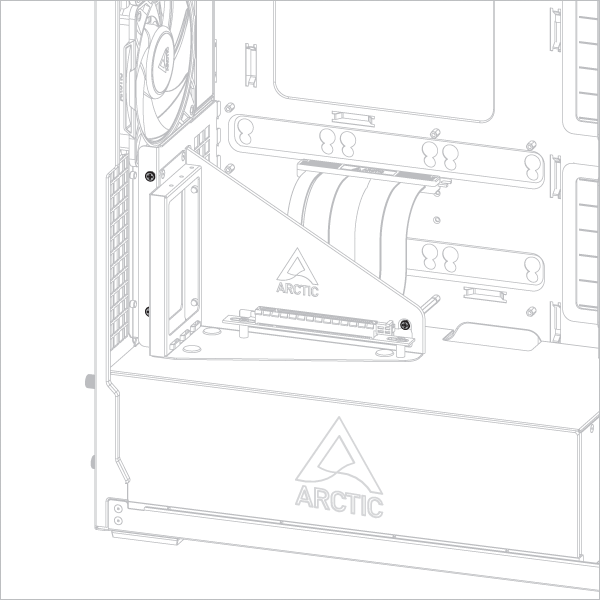
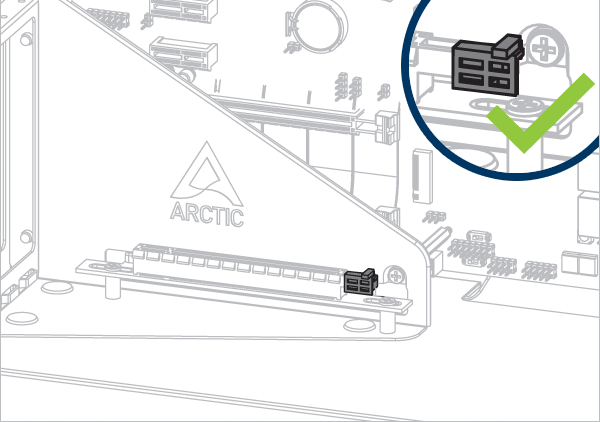
Install the Vertical GPU Mounting Kit
Important! Make sure the cable is fully inserted into the slot. We recommend using the first PCIe slot for best performance.
Attention
Fully unlock the latch before installing the graphics card.
Install the graphic card

Slide the latch back to lock the graphics card.
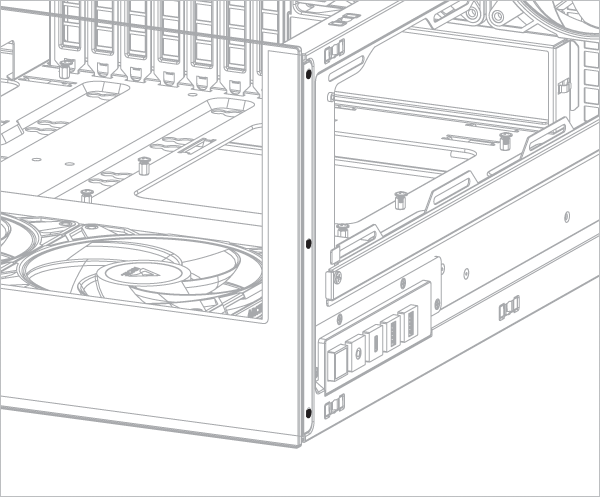
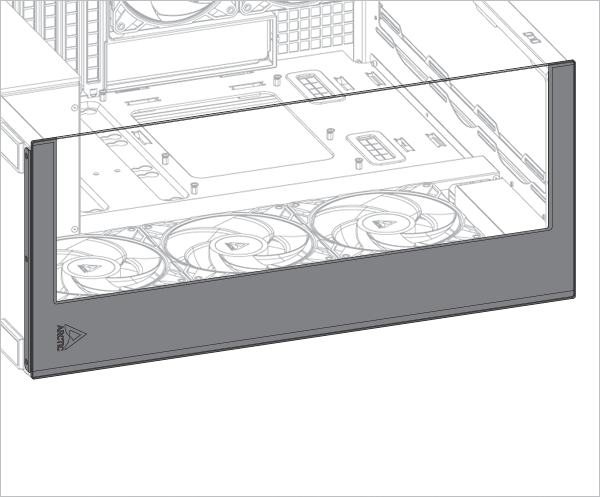
Panel Installation
- Install top mesh panel
- Install side mesh panel
- Install side glass panel
- Install front glass panel
Panel Installation
Align the tabs on the side glass panel with the notch on the bottom panel.
Align the tabs of the side panel with the notches on the bottom panel.


Recommended Products


